Bajdi electronics

Hobby electronics website

Browse: Page 25

My Arduino Nano undershield

By Bajdi on June 20, 2012

Arduino Nano undershield powering 10 servos from Bajdi on Vimeo.

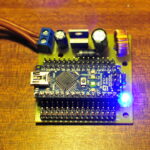
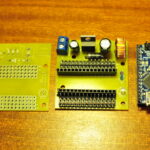
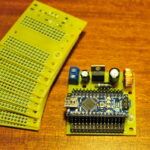
My Arduino Nano undershields arrived this week from Iteadstudio in Shenzen, China. I received 12 PCB’s, but I only have one Nano, anyone want an undershield for your Nano? My undershield has a 3A 5V LM2576 switchmode regulator to power the Nano. All the pins from the Nano are brought out to male headers with a 5V and GND header next to it. This makes it very easy to plug servos and sensors on the board.

The LM2576 regulator is strong enough to power a lot of things. I quickly soldered up the first PCB and did some testing before I plugged in the Arduino Nano. All seemed ok so I plugged in the Nano and connected a couple of servos. The LM2576 5V voltage regulator was still giving a nice and stable 5V with 2 servos. I then connected 10 micro 9G servos and let them sweep, the regulator started to get hot but it was still acceptable. The 5V line dropped a little when the servos switched direction, but the lowest level I saw was 4,8V which is still good.

I was bit worried that the power spikes from the servos would reset the Arduino but I didn’t have any problems. I just need to fit a heatsink to the LM2576 regulator to keep it cool. I’m very happy. This is the first PCB that I designed in Eagle and had made in China, and it works 🙂 It is a small and simple PCB, only 50x50mm. The smallest size that you can order from Iteadstudio. The combination of the undershield with the Nano makes for a powerful and compact package. It is about 25% smaller then an Arduino Uno although it has much more powerful 3A 5V regulator. I will use the undershield in my line following robot.

Arduino nano undershield

Posted in Arduino | Tagged Nano | 4 Responses

Simple obstacle avoiding sketch using an ultrasonic sensor

By Bajdi on June 18, 2012

Found a new library for ultrasonic sensors on the Arduino forums, NewPing.h. You can download it from the Arduino playground. So I wanted to try it out with my Dagu Rover 5. I modified an older sketch that used the ultrasonic.h library. It was pretty easy to change and I can confirm that the new library works. The example that comes with the library uses the millis function to trigger the “pinging”. I had a bit of trouble integrating it to my sketch so I replaced the millis code with a simple delay. Not the best solution so I will try to make a new sketch without delays in the future 🙂
The sketch is far from perfect, my Rover easily gets stuck in corners.

Here is the simple sketch:

// http://www.bajdi.com
// Dagu Rover 5 chassis with 4 motors
// Autonomous mode using an SRF06 ultrasonic sensor mounted on a 9G servo on the front
// µcontroller = Dagu Red back spider, Arduino Mega 1280 compatible
// Motor controller = Dagu 4 channel motor controller

#include <NewPing.h>
#include <Servo.h>

const int DirM1 = 30; // direction motor 1
const int DirM2 = 31; // direction motor 2
const int DirM3 = 32; // direction motor 3
const int DirM4 = 33; // direction motor 4
const int PWMM1 = 4;  // pwm motor 1
const int PWMM2 = 5;  // pwm motor 2
const int PWMM3 = 6;  // pwm motor 3
const int PWMM4 = 7;  // pwm motor 4

const int TRIGGER_PIN = 36;  // Arduino pin tied to trigger pin on ping sensor.
const int ECHO_PIN = 37;  // Arduino pin tied to echo pin on ping sensor.
const int MAX_DISTANCE = 200; // Maximum distance we want to ping for (in centimeters). Maximum sensor distance is rated at 400-500cm.

NewPing srf06(TRIGGER_PIN, ECHO_PIN, MAX_DISTANCE); // NewPing setup of pins and maximum distance.

int leftDistance, rightDistance, fwdDistance; 

Servo SRF6AServo;        // servo objects

void setup() {
  Serial.begin(57600);
  pinMode(DirM1, OUTPUT);  // direction motor 1, left front
  pinMode(DirM2, OUTPUT);  // direction motor 2, left rear
  pinMode(DirM3, OUTPUT);  // direction motor 3, right front
  pinMode(DirM4, OUTPUT);  // direction motor 4, right rear
  pinMode(PWMM1, OUTPUT);  // PWM motor 1
  pinMode(PWMM2, OUTPUT);  // PWM motor 2
  pinMode(PWMM3, OUTPUT);  // PWM motor 3
  pinMode(PWMM4, OUTPUT);  // PWM motor 4

  SRF6AServo.attach(8);       
  SRF6AServo.write(55) ; // set servo to center pois
  delay(150);
}

void loop() {

  fwdDistance =  srf06.ping_cm();
  delay(100); 
  if (fwdDistance > 30)
  {
    forward();
  }
  else
  {
    stop();
    SRF6AServo.write(110);  // move servo left
    delay(500);
    leftDistance = srf06.ping_cm();
    delay(100);
    SRF6AServo.write(10);    // move servo right
    delay(500);
    rightDistance = srf06.ping_cm();
    delay(100);
    SRF6AServo.write(55);    // move servo to center
    delay(50);
    compareDistance();

  }      

}

void compareDistance()
{
  if (leftDistance>rightDistance) //if left is less obstructed 
  {
    turnleft();
    delay(800); 
  }
  else if (rightDistance>leftDistance) //if right is less obstructed
  {
    turnright;
    delay(800);
  }
  else if (rightDistance == leftDistance)
  {
    turnleft();
    delay(1500);
  }
}

void turnleft()
{
  digitalWrite(DirM1, HIGH);
  digitalWrite(DirM2, HIGH);
  digitalWrite(DirM3, LOW);
  digitalWrite(DirM4, LOW);
  analogWrite(PWMM1, 130);
  analogWrite(PWMM2, 130);
  analogWrite(PWMM3, 130);
  analogWrite(PWMM4, 130);
}

void turnright()
{
  digitalWrite(DirM1, LOW);
  digitalWrite(DirM2, LOW);
  digitalWrite(DirM3, HIGH);
  digitalWrite(DirM4, HIGH);
  analogWrite(PWMM1, 130);
  analogWrite(PWMM2, 130);
  analogWrite(PWMM3, 130);
  analogWrite(PWMM4, 130); 
}

void forward()
{
  digitalWrite(DirM1, LOW);
  digitalWrite(DirM2, LOW);
  digitalWrite(DirM3, LOW);
  digitalWrite(DirM4, LOW);
  analogWrite(PWMM1, 70);
  analogWrite(PWMM2, 70);
  analogWrite(PWMM3, 70);
  analogWrite(PWMM4, 70);
}

void stop()
{
  analogWrite(PWMM1, 0);
  analogWrite(PWMM2, 0);
  analogWrite(PWMM3, 0);
  analogWrite(PWMM4, 0);
}
Posted in Arduino sketches | Tagged robot, ultrasonic | 4 Responses

Torobot 32 channel servo controller

By Bajdi on June 14, 2012

Torobot servo controller

Torobot servo controller

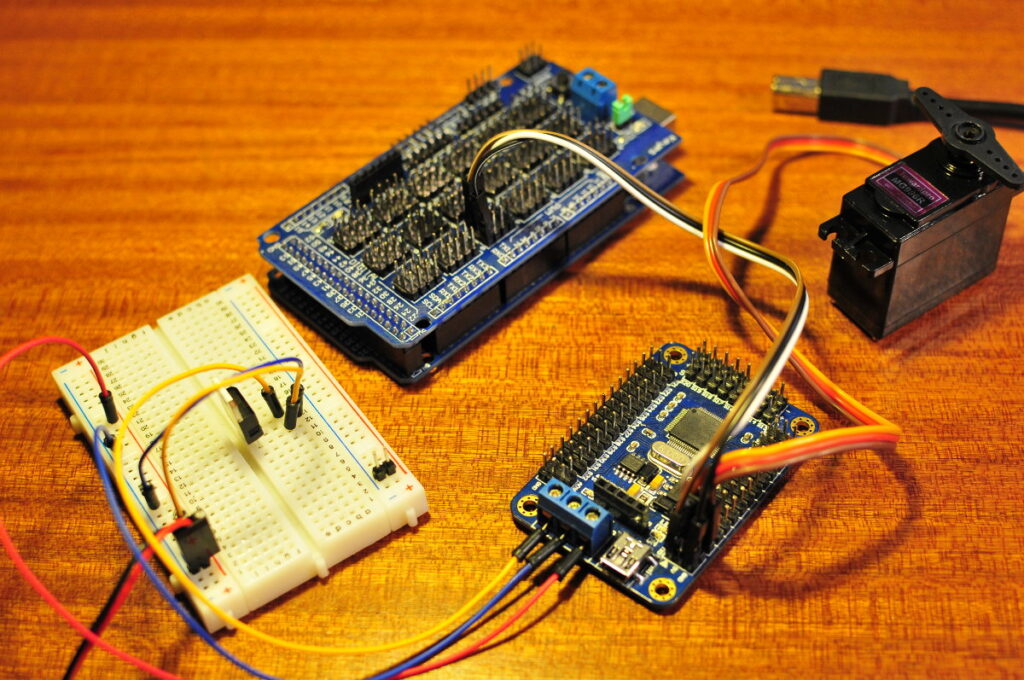
I bought another “toy”, a 32 channel servo controller made by the Chinese company Torobot. It’s a small PCB with a dedicated micro controller that can control up to 32 servos. There is not much information to be found about it. There is an online manual available but it was not of much use to me.
A standard Arduino Uno can only control 12 servos. I would like to built a hexapod with 3 dof legs in the future, so that is 18 servos. That’s the reason I bought this board. It took me some time to figure out how the board works. The board comes with an USB connector and serial pins. The USB connector lets you connect it directly to your computer and with a small Windows program you can control the board. With this software you can actually make “actions” to control your servos and then upload these actions to the board. It even has some pre programmed actions to control a quadpod and hexapod robot. I want to use it with an Arduino so I connected the boards serial pins to the serial port of my Arduino Mega and tried writing a sketch to move one servo. It took me a lot of time and I needed a bit of help from the friendly people at Lets Make Robots till I had a sketch that worked. It’s actually not so difficult once you have figured out how it works.

Here is the sketch to control one servo with the board:


// http://www.bajdi.com
// Sketch to sweep one servo with a Torobot 32 channel servo controller
// Servo controller is connected to the serial pins (0 and 1)

void setup() {
Serial.begin(9600);
}

void loop() {
move(1, 2400, 500);
move(1, 750, 500);
}

void move(int servo, int position, int time) {
Serial.print("#");
Serial.print(servo);
Serial.print("P");
Serial.print(position);
Serial.print("T");
Serial.println(time);
delay(time);
}

Posted in Arduino sketches | Tagged servo | 48 Responses

« PreviousNext »

Recent Posts

  • 3D Printer extruders
  • Mearm forked
  • Arduino time lapse – camera pan device
  • Bought a 199$* Prusa I3 3D printer
  • Simple DIY lab power supply
  • Bajduino
    • Bajduino 1284
    • Bajduino 328
  • Stepper robot arm

Recent Comments

  1. 200+ Arduino Projects List For Final Year Students - He Loves Math on Obstacle avoiding robot made from cheap parts
  2. MP3 Alarm Clock: Crafting Customized wake-Up tunes with Arduino on Arduino MP3 alarm clock
  3. Bas on L9110 H-bridge module
  4. Victor on L9110 H-bridge module
  5. WAQAR AHMED on Dimming led with IR remote control

Archives

  • June 2016
  • August 2015
  • May 2015
  • January 2015
  • December 2014
  • November 2014
  • May 2014
  • April 2014
  • March 2014
  • February 2014
  • January 2014
  • December 2013
  • November 2013
  • October 2013
  • September 2013
  • June 2013
  • May 2013
  • April 2013
  • March 2013
  • February 2013
  • January 2013
  • December 2012
  • November 2012
  • October 2012
  • September 2012
  • August 2012
  • July 2012
  • June 2012
  • May 2012
  • April 2012
  • March 2012
  • February 2012
  • January 2012
  • December 2011

Categories

  • 3D printing
  • Arduino
  • Arduino sketches
  • Bajdupod 996R
  • Bajdupod 9G
  • Bob the biped
  • Buying parts
  • Dagu Rover 5
  • Dagu service droid
  • Gentoo
  • Insectbot
  • Line following robot
  • Raspberry Pi
  • Self balancing bot
  • Bajduino
    • Bajduino 1284
    • Bajduino 328
  • Stepper robot arm

Copyright © 2026 Bajdi electronics.

Powered by WordPress and Hybrid by Bajdi.