By Bajdi on January 7, 2012
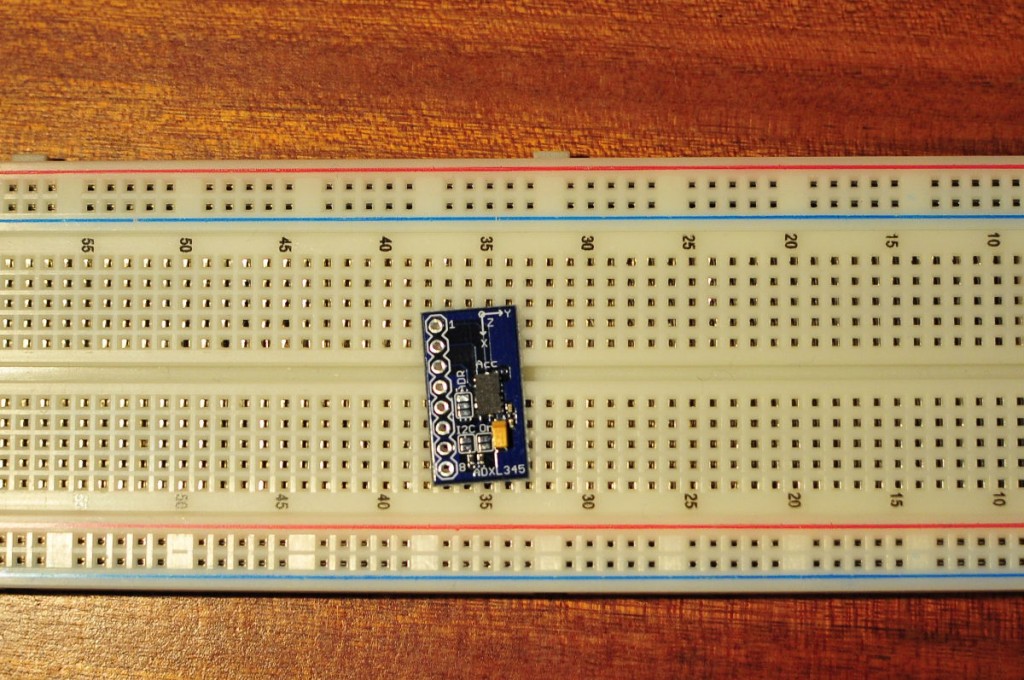
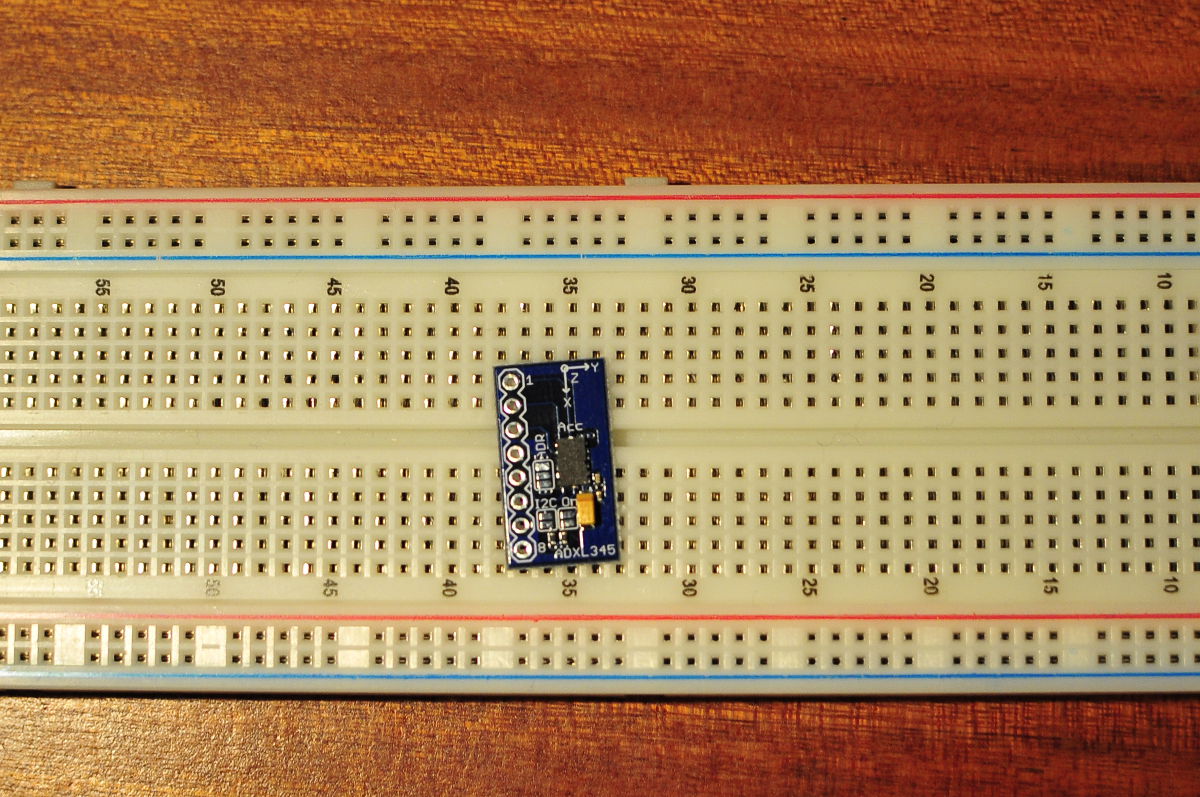
ADXL345 accelerometer
The postman delivered a new toy this week. I bought an ADXL345 accelerometer on Ebay, I was a little bit surprised when the package arrived, the board came in an envelope but I couldn’t feel if there was something inside, after opening the envelope and holding it up a little black bag fell out. Inside it was the ADXL345 board, I was expecting it to be a little bit bigger. It’s very tiny and it doesn’t have any pins or terminals on it to connect it to an Arduino. So I ordered some PCB pin headers on Ebay to put on the little board, so I can easily hook it up to my Arduino Uno or Mega. The ADXL345 can be read over the I2C or SPI bus. I’ll be using it on the I2C bus, as it is an 3,3V device I will need to use some resistors to pull the standard 5V I2C bus of the Arduino Uno or Mega 2560 down to 3,3V. These little chips are quite sensitive, putting 5V on it will kill it. I’m going to use it in a diy rc car/robot that I plan to built in the near future.
Posted in Buying parts | Tagged ADXL345 |
By Bajdi on January 7, 2012
Another day, another sketch 🙂 This time I’ve made a sketch to dim a led with my IR remote control. I first tried to use the remote control to directly set the value of the analogue write variable. That way every time I pushed the remote control the value would go up or down. I was getting tired of pushing on the remote control.
So I used a switch case to set 5 steps to control the led. One button of the remote control dims the led up another button dims it down. This way it works much faster then setting the analogue write value between 0 and 255 in steps of 1.
Here is the sketch:
// http://www.bajdi.com
// Dimming LED in 5 steps with IR remote control

#include <IRremote.h> // use the library for IR

const int receiver = 11; // pin 1 of IR receiver to Arduino digital pin 11
const int led =  9;
int fadeValue;
int lastCounter = 1;
int counter;

IRrecv irrecv(receiver); // create instance of 'irrecv'

decode_results results;

void setup()

{
  pinMode(led, OUTPUT);
  irrecv.enableIRIn();
}

void loop()
{
  counter = lastCounter;
  if (irrecv.decode(&results))
  {
    if (results.value == 0xFF30CF){
      counter ++;
      }

    if (results.value == 0xFF10EF){
      counter --;
      }

  irrecv.resume();
  }

if (counter > 5){      //maximum for counter = 5
    counter = 5;
  }

  if (counter < 2){    //minimum for counter = 1
    counter = 1;
  }

  switch (counter){    //depending on the counter the fadevalue is sent to the led

  case 1:
  fadeValue = 00;
  break;

  case 2:
  fadeValue = 50;
  break;

  case 3:
  fadeValue = 120;
  break;

  case 4:
  fadeValue = 185;
  break;

  case 5:
  fadeValue = 255;
  break;

  }

  analogWrite(led, fadeValue);    //set led with PWM value

  lastCounter = counter;          //reset counter
}
Posted in Arduino sketches | Tagged IR, LED |
By Bajdi on January 6, 2012
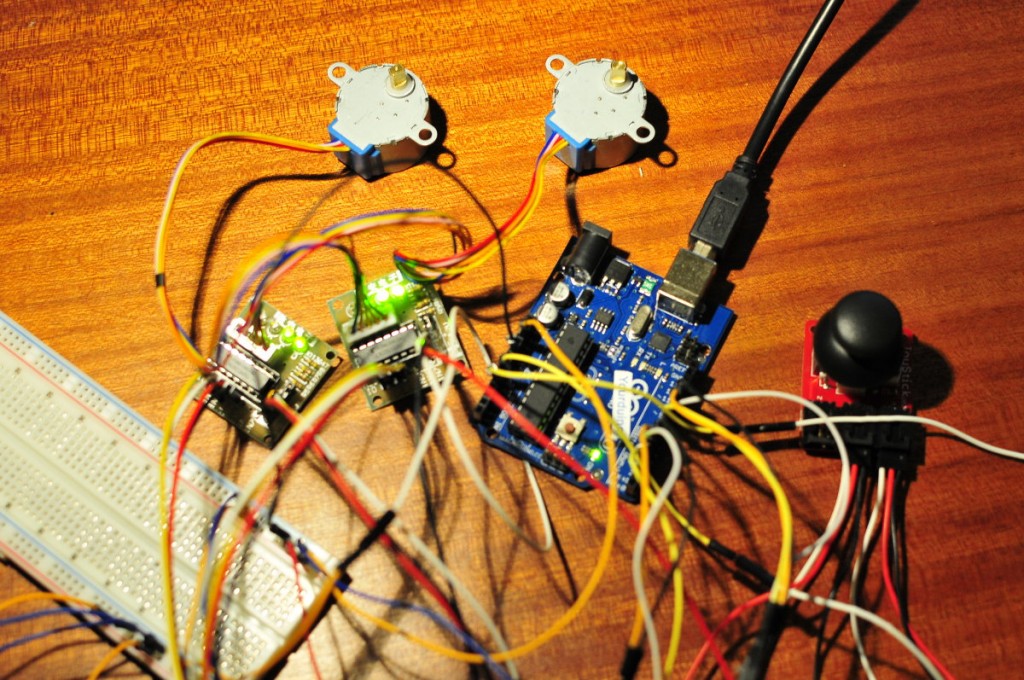
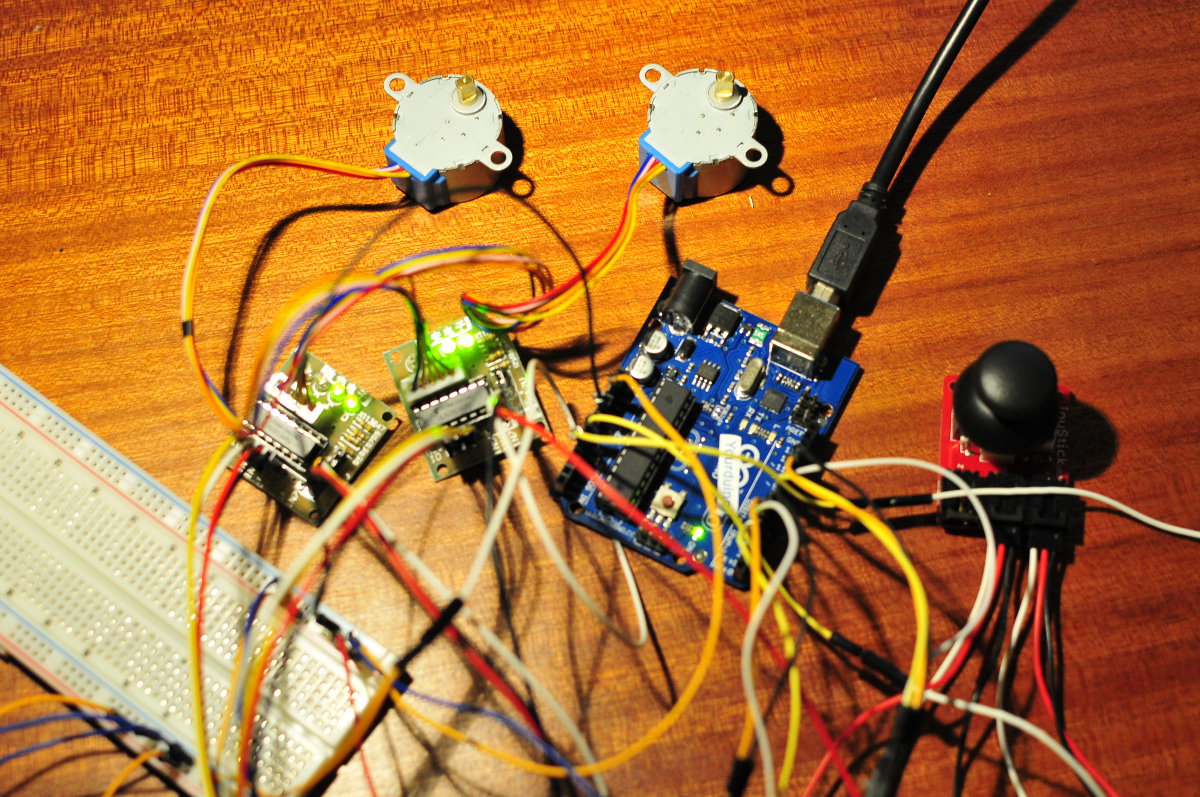
Joystick and stepper motors
Since I have 2 little stepper motors and a joystick I thought it would be nice to see if I could write a sketch that would let me control them with the joystick. I first connected the little stepper motors and ran an example sketch I found here to see if they were working. To power the motors I connected them to my lab power supply. That was easy and it didn’t take me long to see the motors turning from left to right. But something was clearly not right, the 2 little stepper motors that I have are off the 28YBJ-48 type. According to the specifications I found online they have a step angle of 5.625°. So that is 64 steps for one rotation. By running the example sketch I found out that I needed to edit the sketch to more then 2000 steps for one rotation.
I played with the speed settings, rechecked the connections but it still needed +2000 steps for one rotation? Very strange, trying to find an answer for this proofed fruitless. I did found some posts on the Arduino forum of people having the same problem. I measured the current they draw and 1 little motor draws 220mA, although the specs I found said only 92mA. Strange things these little steppers.
The sketch to control the motors with the joystick is very basic, it doesn’t have speed control because the my little motors didn’t react very well to this. They are quite slow and slowing them more down didn’t work.
So here is the sketch:
// http://www.bajdi.com
// 2 stepper motors controlled by a joystick

#include <Stepper.h>

const int stepsPerRevolution = 64;  // change this to fit the number of steps per revolution
// for your motor


// initialize the stepper library for both steppers:
Stepper small_stepper(stepsPerRevolution, 8,10,9,11);
Stepper small_stepper2(stepsPerRevolution, 3,5,4,6);

void setup() {

  // set the speed of the motors
  small_stepper.setSpeed(200);    // set first stepper speed
  small_stepper2.setSpeed(200);   // set second stepper speed
}


void loop() {

  int sensorReading = analogRead(A0); // read value from joystick X-axis

  if (sensorReading < 490) { small_stepper.step(1); }   // step left
  if (sensorReading > 540) { small_stepper.step(-1); }  // step right

  int sensorReading2 = analogRead(A1); // read value from joystick Y-axis

  if (sensorReading2 < 490) { small_stepper2.step(1); } // step forward
  if (sensorReading2 > 540) { small_stepper2.step(-1); } // step backward


 }
Posted in Arduino sketches | Tagged 28BYJ-48 |