By Bajdi on January 5, 2012
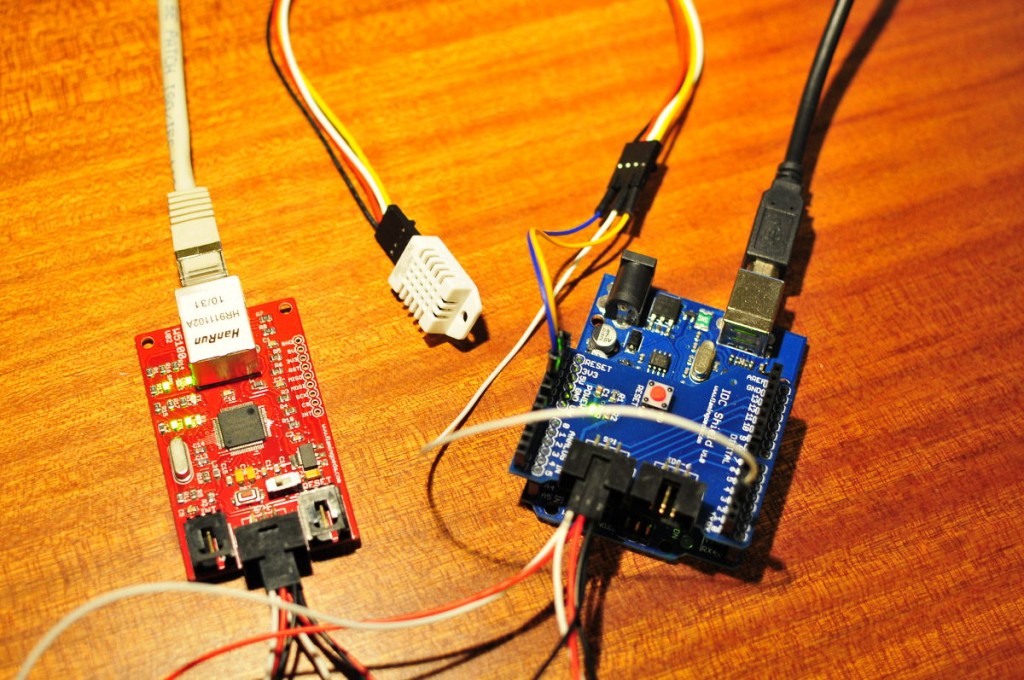
Arduino DHT22 webserver
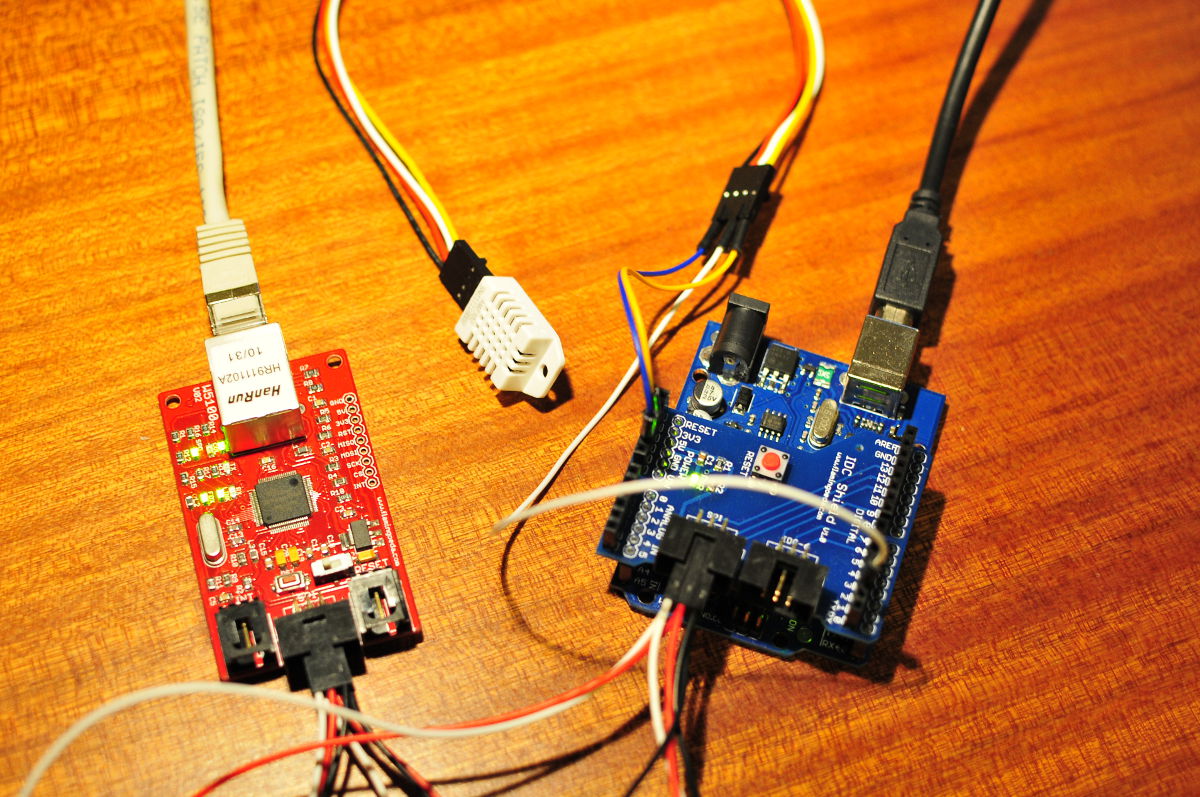
Since I had an Arduino ethernet shield I was eager to try it out. I thought that this was going to be a very difficult thing to get working, since I had bought the ethernet shield without knowing much about it. I was very pleased to find out that the shield was based on the Wiznet 5100 chip, this chip is supported by the ethernet library in the Arduino ide. So I had a look in the examples folder of this library and found the webserver sketch. I changed the IP address and added some code to get the reading of a DHT22 sensor. All pretty straightforward, 30 minutes later I had a working webserver giving me the temperature and humidity values of the DHT22 sensor.
Here is the sketch I used:
/*
  http://www.bajdi.com
  Web  Server showing the values from a DHT22 sensor
*/

#include <SPI.h>
#include <Ethernet.h>
#include <dht.h>

dht DHT;

#define DHTTYPE DHT22  // Sensor type
#define DHT22_PIN 4    // Data pin of DHT22 sensor

// Enter a MAC address and IP address for your controller below.
// The IP address will be dependent on your local network:
byte mac[] = { 0xDE, 0xAD, 0xBE, 0xEF, 0xFE, 0xED };
byte ip[] = { 192,168,1, 10 };

// Initialize the Ethernet server library
// with the IP address and port you want to use
// (port 80 is default for HTTP):
Server server(80);

void setup()
{

  // start the Ethernet connection and the server:
  Ethernet.begin(mac, ip);
  server.begin();
}

void loop()
{
  int chk = DHT.read22(DHT22_PIN);
  // listen for incoming clients
  Client client = server.available();
  if (client) {
    // an http request ends with a blank line
    boolean currentLineIsBlank = true;
    while (client.connected()) {
      if (client.available()) {
        char c = client.read();
        // if you've gotten to the end of the line (received a newline
        // character) and the line is blank, the http request has ended,
        // so you can send a reply
        if (c == '\n' && currentLineIsBlank) {
          // send a standard http response header
          client.println("HTTP/1.1 200 OK");
          client.println("Content-Type: text/html");
          client.println();

          // output the value of the DHT22 sensor
            client.print("Arduino powered webserver");
            client.println("<br />");
            client.print("Serving temperature and humidity values from a DHT22 sensor");
            client.println("<br />");
            client.print("Temperature (oC): ");
            client.print(DHT.temperature);
            client.println("<br />");
            client.print("Humidity (%): ");
            client.print(DHT.humidity);
            client.println("<br />");

          break;
        }
        if (c == '\n') {
          // you're starting a new line
          currentLineIsBlank = true;
        }
        else if (c != '\r') {
          // you've gotten a character on the current line
          currentLineIsBlank = false;
        }
      }
    }
    // give the web browser time to receive the data
    delay(1);
    // close the connection:
    client.stop();
  }
}
Posted in Arduino sketches | Tagged webserver |
By Bajdi on January 4, 2012
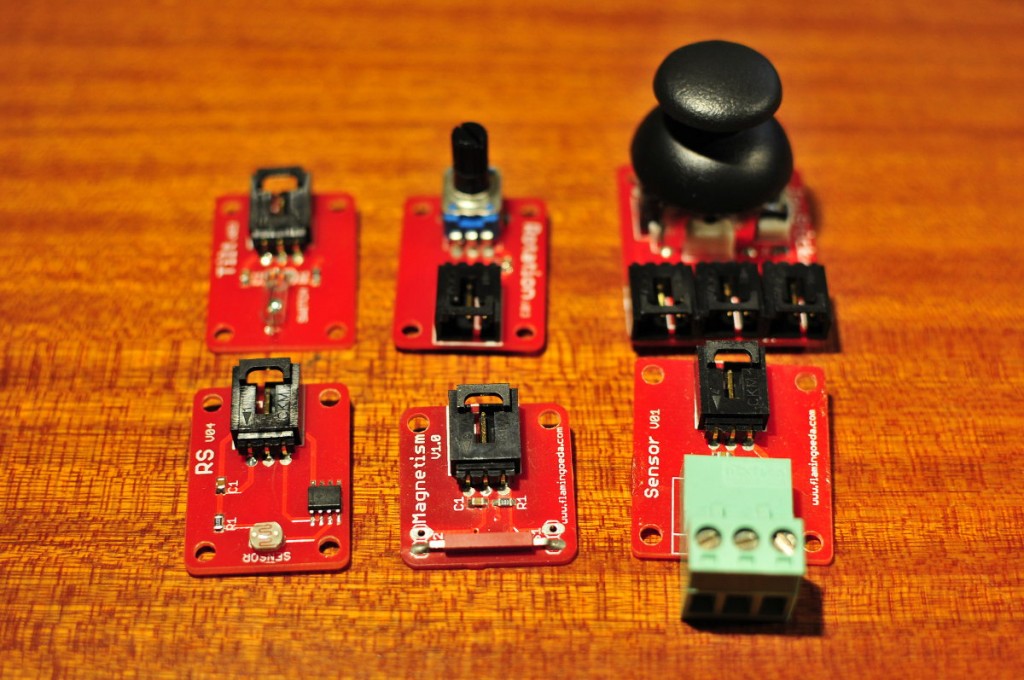
Flamingo EDA Bricks
When I ordered my first Arduino’s I also bought a whole bunch of sensors. That way I could experiment and make many tutorial sketches that are easily found on the internet. Arduino has become very popular, a quick Google search for Arduino tutorials will give you hundreds of websites with example sketches and cool things to try out.
Some of the sensors I bought came in “brick” form. These bricks consist of the sensor itself which is mounted on a small print plate and has a connector on it. This makes it very easy to connect them to an Arduino, well if you also bought the matching cables 🙂 The easy way to connect all these bricks is to buy a matching sensor shield that fits on top of your Arduino. This way you don’t have to worry about cutting and stripping wires to connect all your things, with the appropriate cables you also have less chance on bad connections. It’s an ideal way to use Arduino in schools, the students can concentrate on writing decent code and won’t be spending much time on connecting everything.
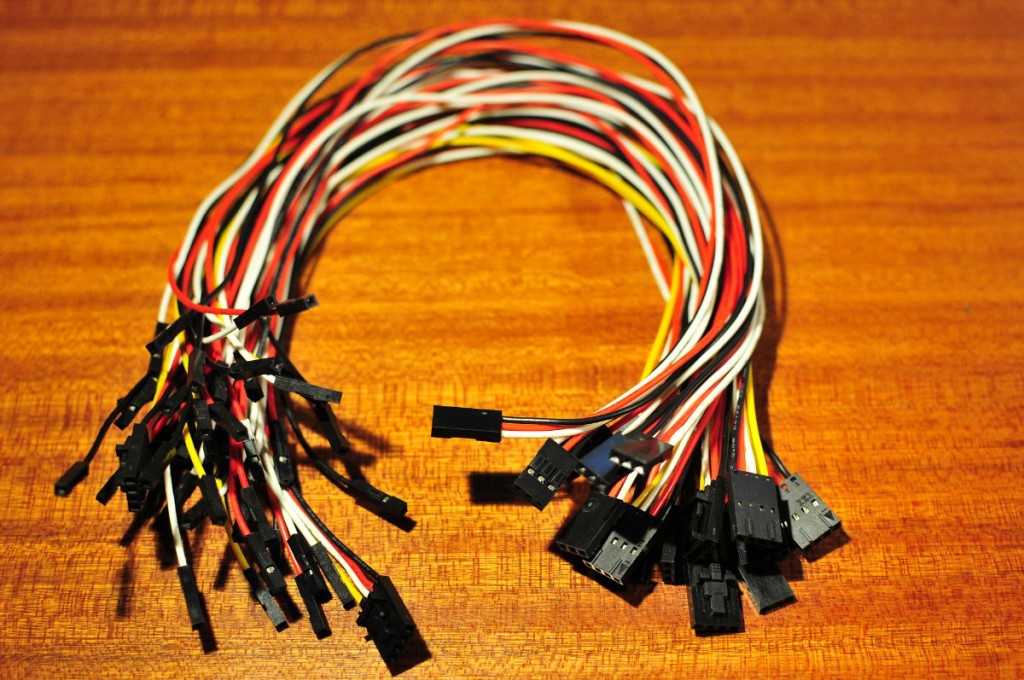
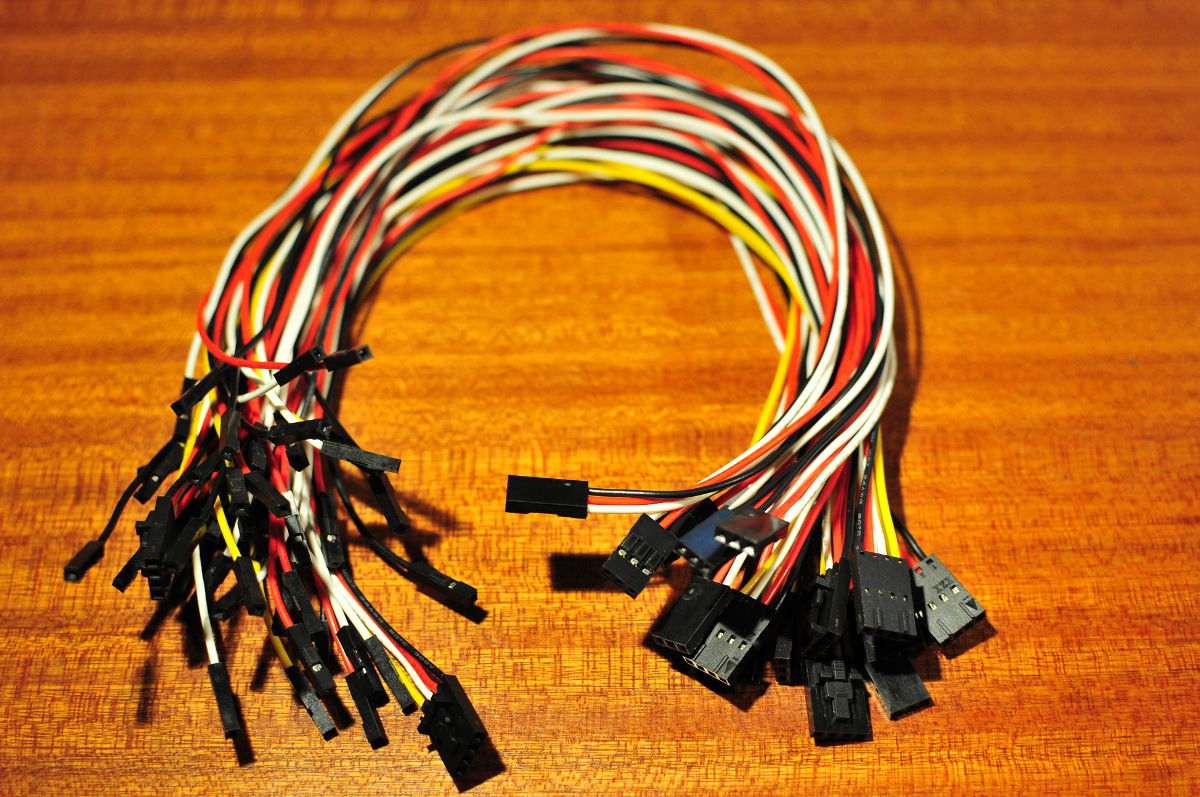
Cables for Arduino shield
The bricks that I bought at Arduino-direct come from a Chinese manufacturer Flamingo EDA. Their website is only in Chinese, and I haven’t found much information on their products on the internet. Seems like they are only targeting the Chinese market.
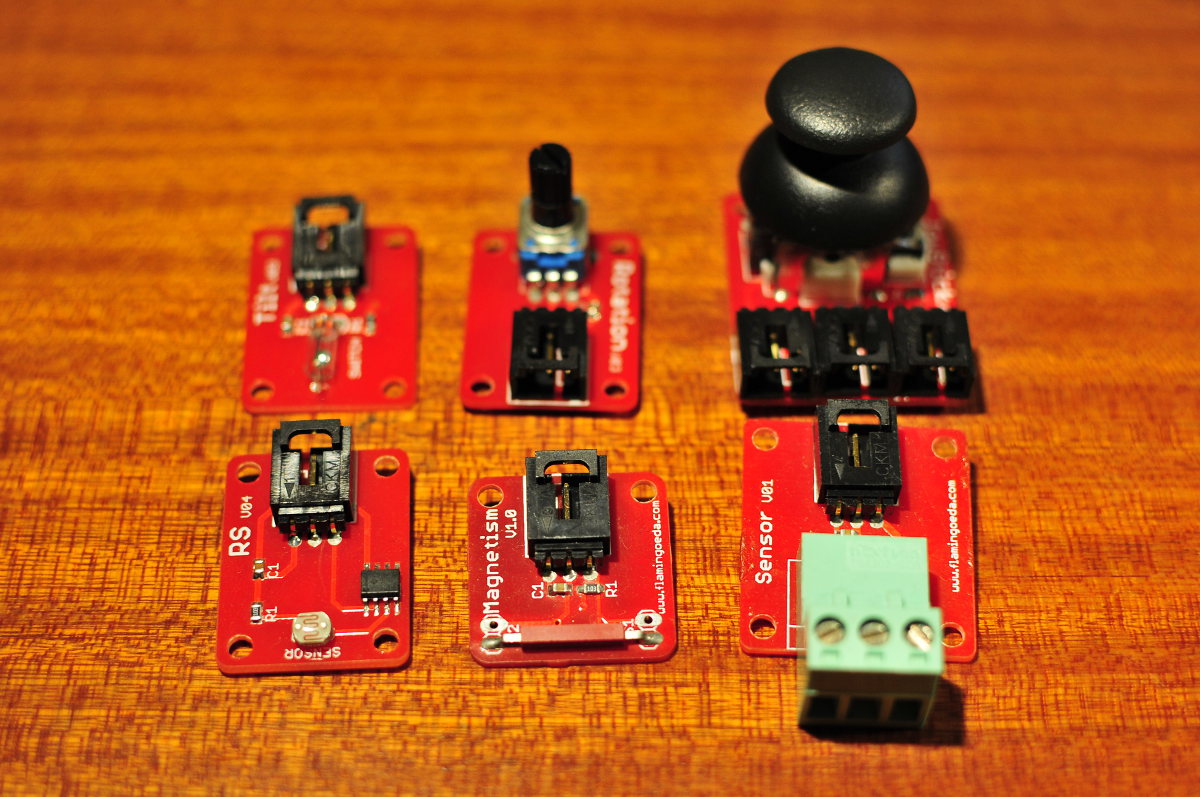
I have the following bricks:
Joystick: joystick with 2 analog sensors (X and Y-axis) and one digital (Z-axis), I could control a robot with this 🙂
Rotation: 10K rotary pot meter, after using it a couple of times it’s broken, dunnow if I blew it up, but I measured the resistance and its infinite in every position 🙁
RS: analog light sensor, gives a an analogue signal depending on how much light there is, works very well
Magnetism: digital sensor that gives a signal when a magnet is detected (must be really close to the sensor), had to take a magnet from the fridge to test it, and it works 🙂
Tilt: very sensitive digital sensor that gives a signal when it is tilted, thought that I would be able to use it for a robot but it’s much to sensitive.
Sensor: this brick has 3 terminal connectors, very handy to connect a sensor to an Arduino
I’m very happy with these bricks, they are easy to connect which makes testing lots of different things much easier. A big benefit is that these bricks already have the necessary pull down resistors. If you would buy these sensors separate you also need to search for a pull down resistor when you want to connect them. Something that’s easily forgotten. They look pretty well made, and for the price I consider them excellent value.
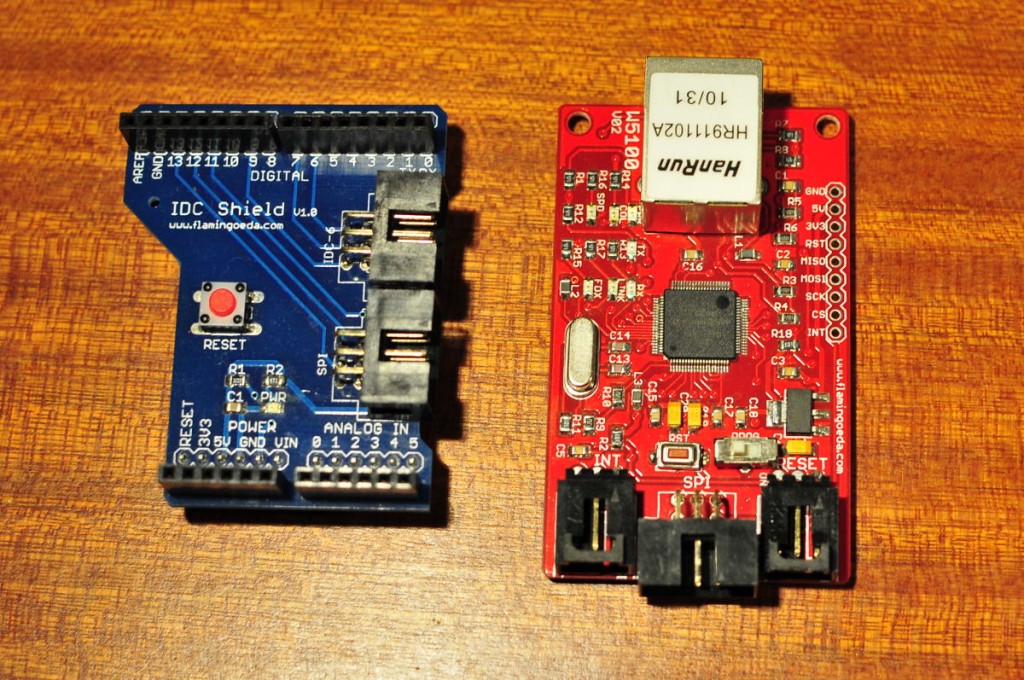
Flamingo EDA ethernet and IDC shield
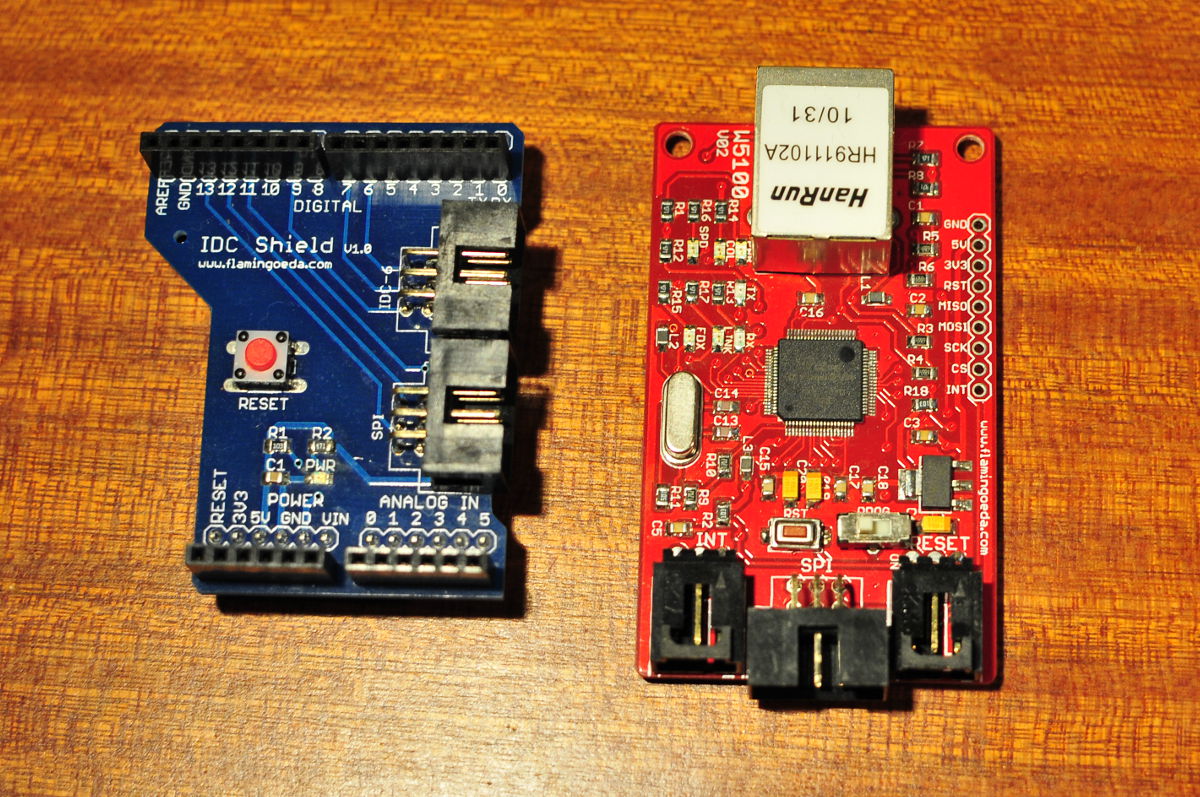
I have 2 other products made by Flamingo EDA. An ethernet shield and an IDC shield. I bought them together, the ethernet shield is just a print board with the Wiznet 5100 chip on it. You can not plug it on top of your Arduino like most other ethernet shields. That is where you can use the IDC shield. This plugs on top of the Arduino and has 2 breakout connectors for SPI and IDC. To connect the ethernet shield you just need to connect the SPI bus and you have a working ethernet card. I found no further information on the ethernet shield and was a bit worried. But since it uses the Wiznet 5100 chip it is supported by the default ethernet library in the Arduino IDE. The SPI connector on the IDC shield will not work on an Arduino Mega 2560 as these use a different pinout for the SPI bus. So this is of no use if you have a Mega 2560.
Posted in Buying parts |
By Bajdi on January 3, 2012
One of the many sensors I bought is the DHT22. This is a digital temperature and humidity sensor. It has 4 pins but only 3 are used. To get it to work you will need the DHT library, this library supports both the DHT11 and DHT22 sensors.
I found this nice example sketch for the DHT11 and changed it to work with my DHT22, I only needed to set the type of sensor and change some of the statements used to read the values from the sensor, pretty easy even for a newbie like me 🙂
The sketch will output the values to an I2C lcd display.
/* http://www.bajdi.com
   DHT22 Humidity and Temperature Sensor test
   Displayed on I2C LCD Display
   Credits: Rob Tillaart for providing the DHT library
   Made the Sketch starting from: http://arduino-info.wikispaces.com/PROJECT-Temp-Humidity-Display
   */

/*-----( Import needed libraries )-----*/
#include <dht.h>
#include <Wire.h>
#include <LiquidCrystal_I2C.h>

/*-----( Declare objects )-----*/
LiquidCrystal_I2C lcd(0x27,16,2); // set the LCD address to 0x27
dht DHT;

/*-----( Declare Constants, Pin Numbers )-----*/
#define DHTTYPE DHT22 // Sensor type
#define DHT22_PIN 2

void setup()   /*----( SETUP: RUNS ONCE )----*/
{
  Serial.begin(9600); //(Remove all 'Serial' commands if not needed)
  lcd.init(); // initialize the lcd
  lcd.backlight();
  // Print a message to the LCD.
  //lcd.setCursor(0, 1);
  lcd.print("DHT Temp/Humid");

}/*--(end setup )---*/

void loop()   /*----( LOOP: RUNS CONSTANTLY )----*/
{


  int chk = DHT.read22(DHT22_PIN);

  Serial.print("Read sensor: ");
  switch (chk)
  {
    case 0: Serial.println("OK"); break;
    case -1: Serial.println("Checksum error"); break;
    case -2: Serial.println("Time out error"); break;
    default: Serial.println("Unknown error"); break;
  }
  lcd.setCursor(0, 1);

  lcd.print("C=");
  lcd.print((float)DHT.temperature, 0);
  Serial.print("Temperature (oC): ");
  Serial.println((float)DHT.temperature, 2);

  lcd.print(" F=");
  lcd.print(Fahrenheit(DHT.temperature), 0);
  Serial.print("Temperature (oF): ");
  Serial.println(Fahrenheit(DHT.temperature), 2);

  lcd.print("  H=");
  lcd.print((float)DHT.humidity, 0);
  lcd.print("%");
  Serial.print("Humidity (%): ");
  Serial.println((float)DHT.humidity, 2);

  Serial.print("Temperature (K): ");
  Serial.println(Kelvin(DHT.temperature), 2);

  Serial.print("Dew Point (oC): ");
  Serial.println(dewPoint(DHT.temperature, DHT.humidity));

  Serial.print("Dew PointFast (oC): ");
  Serial.println(dewPointFast(DHT.temperature, DHT.humidity));

  delay(5000);
}/* --(end main loop )-- */

/*-----( Declare User-written Functions )-----*/
//
//Celsius to Fahrenheit conversion
double Fahrenheit(double celsius)
{
        return 1.8 * celsius + 32;
}

//Celsius to Kelvin conversion
double Kelvin(double celsius)
{
        return celsius + 273.15;
}

// dewPoint function NOAA
// reference: http://wahiduddin.net/calc/density_algorithms.htm
double dewPoint(double celsius, double humidity)
{
        double A0= 373.15/(273.15 + celsius);
        double SUM = -7.90298 * (A0-1);
        SUM += 5.02808 * log10(A0);
        SUM += -1.3816e-7 * (pow(10, (11.344*(1-1/A0)))-1) ;
        SUM += 8.1328e-3 * (pow(10,(-3.49149*(A0-1)))-1) ;
        SUM += log10(1013.246);
        double VP = pow(10, SUM-3) * humidity;
        double T = log(VP/0.61078);   // temp var
        return (241.88 * T) / (17.558-T);
}

// delta max = 0.6544 wrt dewPoint()
// 5x faster than dewPoint()
// reference: http://en.wikipedia.org/wiki/Dew_point
double dewPointFast(double celsius, double humidity)
{
        double a = 17.271;
        double b = 237.7;
        double temp = (a * celsius) / (b + celsius) + log(humidity/100);
        double Td = (b * temp) / (a - temp);
        return Td;
}
/* ( THE END ) */
Posted in Arduino sketches | Tagged DHT22 |