Arduino data logging webserver ds1307 and lcd
My last data logging sketch was missing one feature to make it complete. Since I use a DS1307 RTC which is not very accurate, it loses a couple of seconds a day, I wanted to sync the time with a timeserver.
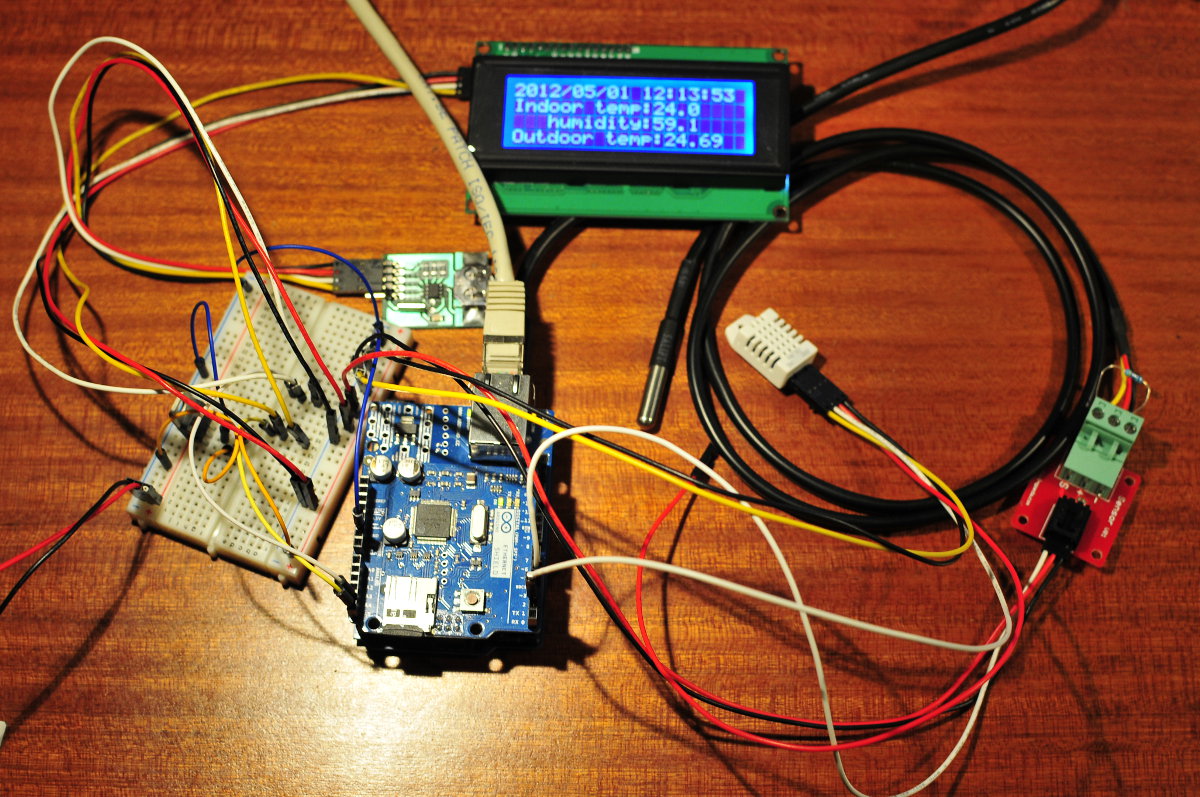
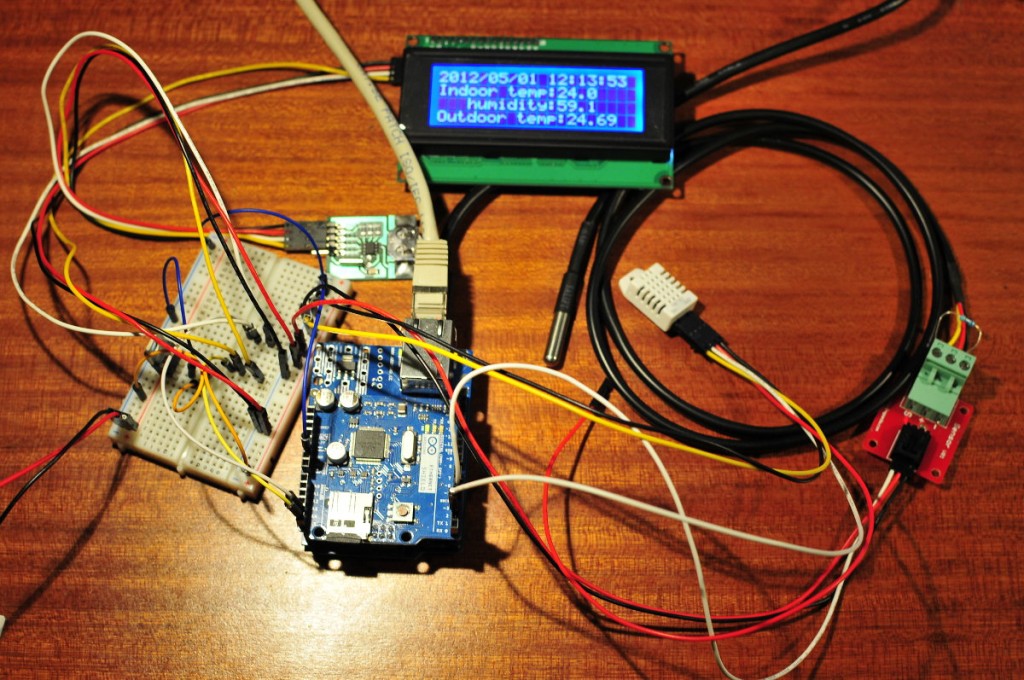
Thankfully some smart people on the Arduino site have already made a library and example sketch to do exactly that. The sketch uses the UDP protocol to sync with a NTP timeserver. So this was just a matter of integrating the example sketch to my data logging sketch. While I was at it I also connected my new 4×20 I2C LCD to my Arduino and wrote some code to sent the values of the temperature sensors and RTC clock to the LCD. So now I have a fully working data logging sketch which keeps accurate time 🙂
All the data is written to a SD card once every 10 seconds, and I can look up the data on a little webserver. Pretty cool. The sketch is nothing more then a combination of the various example sketches that come with the 9 libraries used for this sketch.
The sketch is quite big, almost maxing out the memory of the ATmega328.
Here is the complete sketch:
/*
 http://www.bajdi.com
 SD card temperature logger and webserver with DS1307 RTC.

 This sketch shows how to log data from a DHT22 and DS18B20 sensor to an SD card using the SD library.
 The data from the sensors is updated every 10 seconds and written to the SD card in a CSV file.
 Time stamp is taken from a DS1307 RTC. The data of the DHT22, DS18B20 and RTC is also available on a webserver.
 The time of the DS1307 RTC is synced with a timeserver once a day. (DS1307 is not accurate over a long time.)
 */

#include <SPI.h>
#include <Ethernet.h>
#include <Wire.h>
#include "RTClib.h"
#include <dht.h>
#include <SD.h>
#include <OneWire.h>
#include <DallasTemperature.h>
#include <LiquidCrystal_I2C.h>
#include <Udp.h>

unsigned int localPort = 8888;             // local port to listen for UDP packets
byte timeServer[] = {81, 95, 126, 170};    // be.pool.ntp.org NTP server
const int NTP_PACKET_SIZE= 48;             // NTP time stamp is in the first 48 bytes of the message
byte pb[NTP_PACKET_SIZE];                  // buffer to hold incoming and outgoing packets

LiquidCrystal_I2C lcd(0x27,20,4);

const int ONE_WIRE_BUS = 3;                // signal pin of DS18B20 connected to pin 3
OneWire ourWire(ONE_WIRE_BUS);
DallasTemperature sensors(&ourWire);

dht DHT;

RTC_DS1307 RTC;

#define DHTTYPE DHT22 // Sensor type
#define DHT22_PIN 2   // DHT22 signal on pin 2

byte mac[] = {
  0xDE, 0xAD, 0xBE, 0xEF, 0xFE, 0xED };
byte ip[] = {
  192,168,1, 10 };

int lastTime = -1;
int lastTime2 = -1;

float temp;            // float for temperature value from DS18B20

char filename[] = "00000000.CSV";

Server server(80);

const int chipSelect = 4;      // CS for SD card

void setup()
{
  Serial.begin(9600);
  lcd.init(); // initialize the lcd
  lcd.backlight();
  Ethernet.begin(mac, ip);
  server.begin();
  Wire.begin();
  sensors.begin();            // for DS18B20 sensor
  delay(200);
  if (! RTC.isrunning()) {
    Serial.println("RTC is NOT running!");
    RTC.adjust(DateTime(__DATE__, __TIME__));
  }
  delay(100);
  Serial.print("Initializing SD card...");
  pinMode(10, OUTPUT);

  // see if the card is present and can be initialized:
  if (!SD.begin(chipSelect)) {
    Serial.println("Card failed, or not present");
    // don't do anything more:
    return;
  }
  Serial.println("card initialized.");
}

void loop()
{
  DateTime now = RTC.now();                              // get time from RTC

  int time = now.second();
  if (abs(time - lastTime) > 10)
  {
    int chk = DHT.read22(DHT22_PIN);                       // get data from DHT22
    sensors.requestTemperatures();                         // get data from DS18B20
    temp = sensors.getTempCByIndex(0);

    getFilename(filename);
    File dataFile = SD.open(filename, FILE_WRITE);

    // if the file is available, write to it:
    if (dataFile) {
      dataFile.print(now.day(), DEC);
      dataFile.print('/');
      dataFile.print(now.month(), DEC);
      dataFile.print('/');
      dataFile.print(now.year(), DEC);
      dataFile.print(" , ");
      dataFile.print(now.hour(), DEC);
      dataFile.print(':');
      dataFile.print(now.minute(), DEC);
      dataFile.print(" , ");
      dataFile.print((float)DHT.temperature);
      dataFile.print(" , ");
      dataFile.println((float)temp);
      dataFile.close();
    }
    // if the file isn't open, pop up an error:
    else {
      Serial.print("error opening ");
      Serial.println(filename);
    }
    lastTime = time;
  }

  Client client = server.available();
  if (client) {
    // an http request ends with a blank line
    boolean currentLineIsBlank = true;
    while (client.connected()) {
      if (client.available()) {
        char c = client.read();
        if (c == '\n' && currentLineIsBlank) {
          // send a standard http response header
          client.println("HTTP/1.1 200 OK");
          client.println("Content-Type: text/html");
          client.println();

          client.print(now.day(), DEC);
          client.print('/');
          client.print(now.month(), DEC);
          client.print('/');
          client.print(now.year(), DEC);
          client.print(' ');
          client.print(now.hour(), DEC);
          client.print(':');
          client.print(now.minute(), DEC);
          client.println("<br />");
          client.print("Arduino powered webserver");
          client.println("<br />");
          client.print("Serving temperature and humidity values from a DHT22 and DS18B20 sensor");
          client.println("<br />");
          client.print("Inside temperature (oC): ");
          client.print(DHT.temperature);
          client.println("<br />");
          client.print("Humidity (%): ");
          client.print(DHT.humidity);
          client.println("<br />");
          client.print("Outside temperature (oC): ");
          client.print(temp);
          client.println("<br />");

          break;
        }
        if (c == '\n') {
          // you're starting a new line
          currentLineIsBlank = true;
        }
        else if (c != '\r') {
          // you've gotten a character on the current line
          currentLineIsBlank = false;
        }
      }
    }
    // give the web browser time to receive the data
    delay(1);
    // close the connection:
    client.stop();
  }

  int time2 = now.day();
  if (abs(time2 - lastTime2) > 1)
  {
    Udp.begin(localPort);
    delay(250);
    // send an NTP packet to a time server
    sendNTPpacket(timeServer);

    // wait to see if a reply is available
    delay(1000);

    if ( Udp.available() ) {
      // read the packet into the buffer

      Udp.readPacket(pb, NTP_PACKET_SIZE);

      // NTP contains four timestamps with an integer part and a fraction part
      // we only use the integer part here
      unsigned long t1, t2, t3, t4;
      t1 = t2 = t3 = t4 = 0;
      for (int i=0; i< 4; i++)
      {
        t1 = t1 << 8 | pb[16+i];
        t2 = t2 << 8 | pb[24+i];
        t3 = t3 << 8 | pb[32+i];
        t4 = t4 << 8 | pb[40+i];
      }

      // part of the fractional part
      // could be 4 bytes but this is more precise than the 1307 RTC
      // which has a precision of ONE second
      // in fact one byte is sufficient for 1307
      float f1,f2,f3,f4;
      f1 = ((long)pb[20] * 256 + pb[21]) / 65536.0;
      f2 = ((long)pb[28] * 256 + pb[29]) / 65536.0;
      f3 = ((long)pb[36] * 256 + pb[37]) / 65536.0;
      f4 = ((long)pb[44] * 256 + pb[45]) / 65536.0;

      const unsigned long seventyYears = 2208988800UL;
      t1 -= seventyYears;
      t2 -= seventyYears;
      t3 -= seventyYears;
      t4 -= seventyYears;

      // Adjust timezone and DST... in my case substract 4 hours for Chile Time
      // or work in UTC?
      t4 += (2 * 3600L);     // Notice the L for long calculations!!
      t4 += 1;               // adjust the delay(1000) at begin of loop!
      if (f4 > 0.4) t4++;    // adjust fractional part, see above
      RTC.adjust(DateTime(t4));

      Serial.println("RTC synced");
    }
    lastTime2 = time2;
  }


  lcd.setCursor(0, 0);
  lcd.print(now.year(), DEC);
  lcd.print('/');
  if (now.month() < 10)
    lcd.print("0");
  lcd.print(now.month(), DEC);
  lcd.print('/');
  if (now.day() < 10)
    lcd.print("0");
  lcd.print(now.day(), DEC);
  lcd.setCursor(11, 0);
  if (now.hour() < 10)
    lcd.print("0");
  lcd.print(now.hour(), DEC);
  lcd.print(':');
  if (now.minute() < 10)
    lcd.print("0");
  lcd.print(now.minute(), DEC);
  lcd.print(':');
  if (now.second() < 10)
    lcd.print("0");
  lcd.print(now.second(), DEC);
  lcd.setCursor(0, 1);
  lcd.print("Indoor temp:");
  lcd.print((float)DHT.temperature, 1);
  lcd.setCursor(3, 2);
  lcd.print("humidity:");
  lcd.print((float)DHT.humidity,1);
  lcd.setCursor(0, 3);
  lcd.print("Outdoor temp:");
  lcd.print(temp);

}

void getFilename(char *filename) {
  DateTime now = RTC.now();
  int year = now.year();
  int month = now.month();
  int day = now.day();
  filename[0] = '2';
  filename[1] = '0';
  filename[2] = (year-2000)/10 + '0';
  filename[3] = year%10 + '0';
  filename[4] = month/10 + '0';
  filename[5] = month%10 + '0';
  filename[6] = day/10 + '0';
  filename[7] = day%10 + '0';
  filename[8] = '.';
  filename[9] = 'C';
  filename[10] = 'S';
  filename[11] = 'V';
  return;
}

// send an NTP request to the time server at the given address
unsigned long sendNTPpacket(byte *address)
{
  // set all bytes in the buffer to 0
  memset(pb, 0, NTP_PACKET_SIZE);
  // Initialize values needed to form NTP request
  // (see URL above for details on the packets)
  pb[0] = 0b11100011;   // LI, Version, Mode
  pb[1] = 0;     // Stratum, or type of clock
  pb[2] = 6;     // Polling Interval
  pb[3] = 0xEC;  // Peer Clock Precision
  // 8 bytes of zero for Root Delay & Root Dispersion
  pb[12]  = 49;
  pb[13]  = 0x4E;
  pb[14]  = 49;
  pb[15]  = 52;

  // all NTP fields have been given values, now
  // you can send a packet requesting a timestamp:

  Udp.sendPacket( pb,NTP_PACKET_SIZE,  address, 123); //NTP requests are to port 123
}