Bajdi electronics

Hobby electronics website

Browse: Page 27

Arduino rc car part 2: controlling the servo

By Bajdi on May 11, 2012

Arduino RC car

Arduino RC car

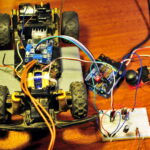
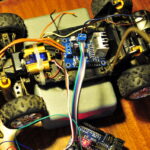
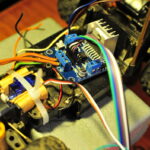
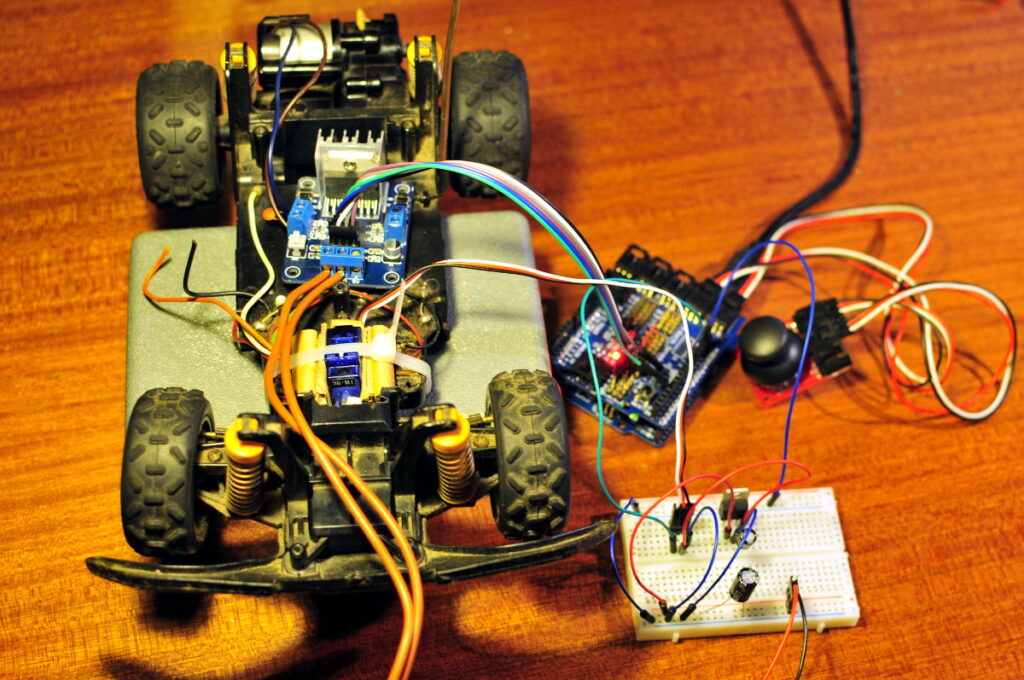
Fiddled some more with my old Nikko rc car, last time I managed to control the main motor with a L298n motor controller board. Since my last post about it I found out that the servo that originally controlled the front wheels is broken. So I needed to find a solution for that. I had a small Tower Pro SG90 servo and decided to fit that. With the use of my Dremel, tie wrap, a small bolt and pieces of carton I succeeded in mounting the servo so it can turn the front wheels 🙂 To be honest it took me a couple of hours and a lot of swearing to get it right.

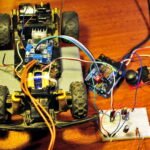
So after mounting the servo it was time to connect it all to an Arduino. I connected the L298n board, SG90 servo and joystick to an Arduino Duemilanove to test if everything worked like it should. I used my lab power supply to power everything, I gave 7-8V to the L298n and used a L7805CV to give the servo 5V, I think 7-8V is a bit to much for these little servos. I actually first tried to power the servo from the Arduino, but it would just reset every time I tried to move the servo.

I made the following sketch that lets me control the main motor and front wheels with an analog joystick. Next step is to control it wireless with my self made remote control using a pair of nRF24L01 modules.

/*
 http://www.bajdi.com
 RC car controlled by analog joystick
 Micro SG90 servo to turn front wheels
 DC motor controlled by L298n 
 */

#include <Servo.h>

Servo myservo;                // create servo object to control a servo
int Y;                        // Y axis = forward/backward
int X;                        // X axis = left/right
int fspeed;           // forward speed 
int bspeed;           // backward speed
int iOldPos, iNewPos = 0;    // servo position
const int in1 = 2;    // direction pin 1
const int in2 = 4;    // direction pin 2
const int ena = 3;    // PWM pin to change speed

long previousMillis = 0;      // timer for servo
const int interval = 30;      // interval to update servo position

void setup()
{
  pinMode(in1, OUTPUT);      // connection to L298n
  pinMode(in2, OUTPUT);      // connection to L298n
  pinMode(ena, OUTPUT);      // connection to L298n
  myservo.attach(9);    // attaches the servo on pin 9 to the servo object
  myservo.write(87);    // center servo 
  delay(50);           // give servo time to change position
}


void loop()
{

  int X = analogRead(A1);  // joystick X axis
  int Y = analogRead(A0);  // joystick Y axis

  if (Y < 500)              // joystick forward
  {
    fspeed = (map(Y, 501, 0, 70, 250));
    forward(fspeed);
  }

  if (Y > 540)              // joystick backward
  {
    bspeed = (map(Y, 541, 1023, 70, 250));
    backward(bspeed);
  }
  if (Y >= 500 && Y <= 540)    // joystick is centered
  {
    stop();
  }

  if (X > 490 && X < 530 )    // joystick is centered
  {
    iNewPos = 87;     // 87 = servo in center position
  }

  if (X < 490)              
  {
    iNewPos = (map(X, 491, 0, 88, 130));
  }

  if (X > 530)
  {
    iNewPos = (map(X, 531, 1023, 86, 35));
  }

  unsigned long currentMillis = millis();

  if(iOldPos != iNewPos && currentMillis - previousMillis > interval) {	    // Issue command only if desired position changes and interval is over
    previousMillis = currentMillis;
    iOldPos = iNewPos;
    myservo.write(iNewPos);     // tell servo to go to position in variable 'pos' 
  }
}

void stop()
{
  analogWrite(ena, 0);
  digitalWrite(in1, LOW);
  digitalWrite(in2, LOW);
}

void forward(int fspeed)
{
  digitalWrite(in1, HIGH);
  digitalWrite(in2, LOW);
  analogWrite(ena, fspeed);
}

void backward(int bspeed)
{
  digitalWrite(in1, LOW);
  digitalWrite(in2, HIGH);
  analogWrite(ena, bspeed);
}
Arduino RC car
Arduino RC car
Arduino RC car
Arduino RC car
Arduino RC car
Arduino RC car

Arduino RC car
Arduino RC car

Posted in Arduino sketches | Tagged servo | 4 Responses

Controlling a servo without the delay function

By Bajdi on May 6, 2012

Testing 3 DOF gripper from Bajdi on Vimeo.

I started writing a sketch to control my 3 DOF gripper, it has 3 servos controlled by an Arduino. All the servo example sketches that I have seen use the delay function. You need to have a delay after sending the servo the command to move to a certain position. The delay function is the easiest way to do this, but this stops the code running on the Arduino. You can not do anything else during that delay. When you have a lot of delays in your program you will end up with a very unresponsive program. This is an issue I have seen many times on the Arduino forum.

As I will use a remote control to move the servos I want instant reaction of my servos. So I had to come up with a sketch to control a servo without the delay function. To do that you can use the millis function instead, this is a timer that runs continuously on the Arduino. The Arduino IDE comes with the “blink without delay” example, this example uses the millis function to blink a LED. So I integrated this example with a servo example I found on the Arduino forum. To test it I connected the 3 servos of my gripper to my spare Arduino Mega 2560 together with 3 potentiometers.

I powered the 3 servos from my lab power supply. Don’t try to power servos directly from an Arduino, the regulator on the Arduino is not powerful enough. You can control many servos with an Arduino but not power them. Always make sure you have a common ground if you’re using a different power supply to power the Arduino and servos. For example when you use a battery to power the servos and use an USB cable to power the Arduino you must connect the ground of the Arduino with the ground of the battery. Else your servos won’t be working or will do funny things.

Here is the sketch I have come up with to control one servo with a potentiometer without using the delay function:

/*
 http://www.bajdi.com
 Moving a servo without the delay function.
 The servo is controlled by a potentiometer connected to A0.
*/

#include <Servo.h>

Servo myservo;               // create servo object to control a servo
int potValue;                //variables to hold A0 input
int iOldPos, iNewPos = 0;    // servo position

long previousMillis = 0;
const int interval = 20;
 
int pot = 0; 	//potentiometer connected to A0

void setup()
{
  //Initialize serial port
  Serial.begin(9600);
  Serial.println("Servo Demo");

  // Initialize servo
  myservo.attach(9);   // attaches the servo on pin 9
}


void loop()
{
  potValue = analogRead(pot);       // read the value of the potentiometer
  iNewPos = potValue/5;		    // convert to quasi-degrees (alter per your potentiometer)
  
  unsigned long currentMillis = millis();
  
  if(iOldPos != iNewPos && currentMillis - previousMillis > interval) {	    // Issue command only if desired position changes
    previousMillis = currentMillis;
    iOldPos = iNewPos;
    Serial.print("Potentiometer = ");         // Value of potentiometer on serial port
    Serial.print(potValue);         
    Serial.print(", ~degrees = ");
    Serial.println(iNewPos);

    // Set servo in degrees from approximately 0 to 180
    myservo.write(iNewPos);     // tell servo to go to position in variable 'iNewPos' 
  }
}

Posted in Arduino sketches | Tagged servo | 3 Responses

Rover 5 with gripper

By Bajdi on May 6, 2012

Dagu rover 5 with gripper

Dagu rover 5 with gripper

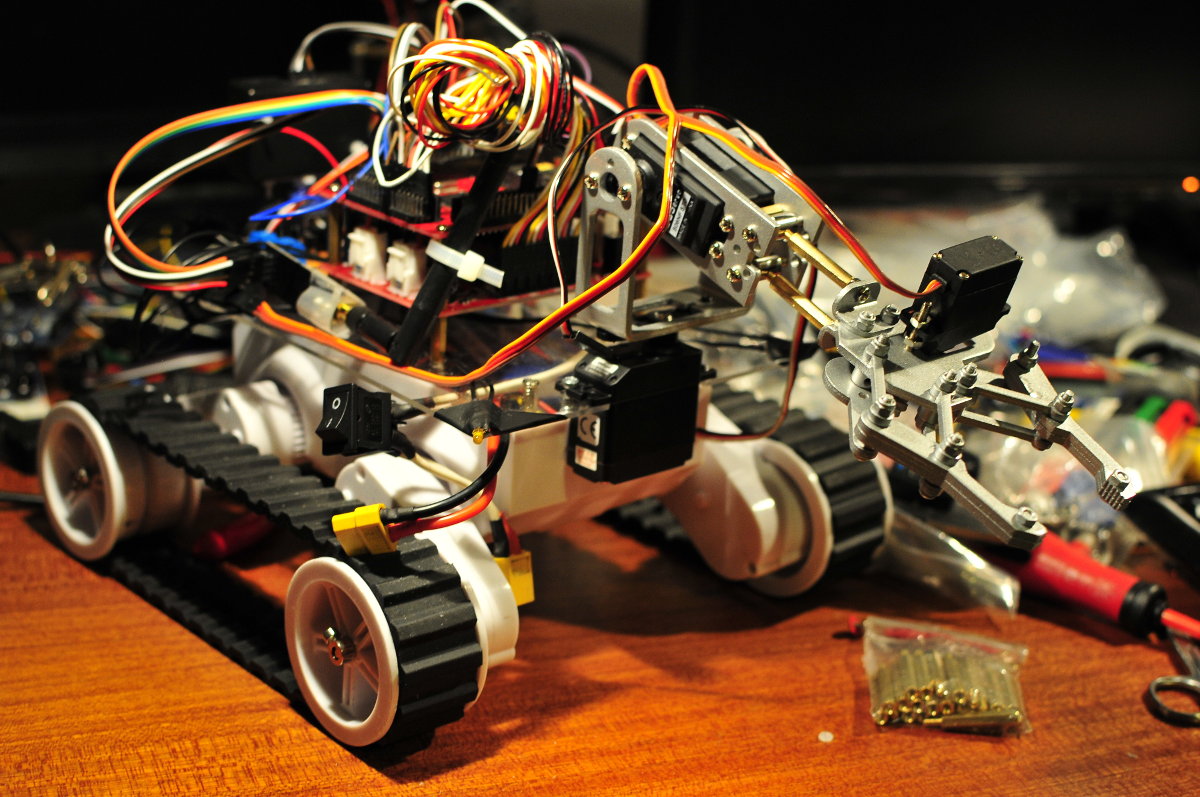
I had some bad luck recently, the voltage regulator on my Dagu Red back spider robot controller died 🙁 The mcu on the board still works when I power it from USB but when I use external power the regulator only gives 3V it should be 5V. So I needed a new one, the European suppliers seemed to be all out of stock. I contacted Dagu in China and they sold me a new one. Dagu also sells a nice 2 DOF gripper and I couldn’t resist and ordered one. The parts arrived here pretty fast, courtesy of DHL.

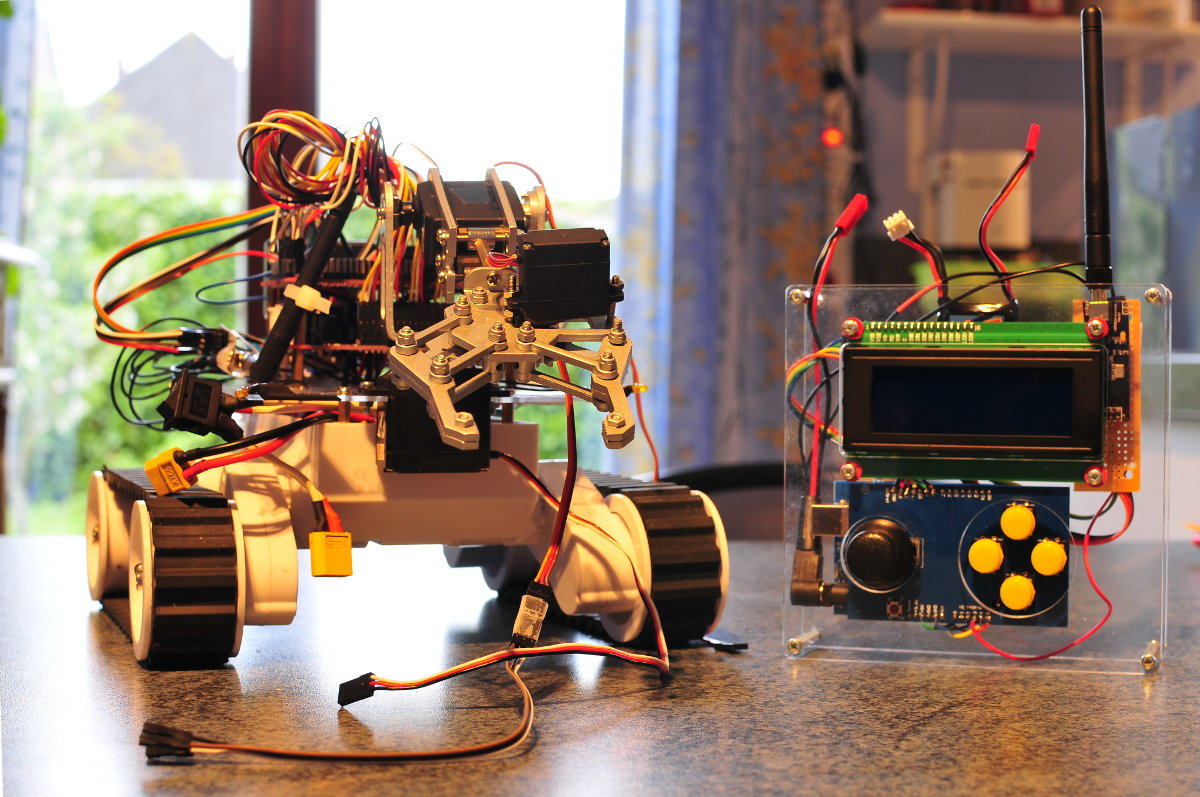
What was I going to do with the 2 DOF gripper? I needed to make a base for it or maybe mount it on my Rover? Yesterday I took my Dremel and made a hole in the plexi glass I have on my Rover chassis. So now my Rover 5 is equipped with a 3 DOF gripper. The gripper comes with 2 servos (2 DOF), I added another servo to the base so I can rotate the gripper, that makes it 3 DOF. The one I currently use has plastic gears and horn, it’s not strong enough to hold the gripper. But it’s good enough to start testing, I’ll order a stronger servo with metal gears and metal horn. I’m working on a sketch to control the Rover 5 and gripper with my new remote control. That will keep me busy for a while 🙂

Dagu rover 5 with gripper and remote control

Dagu rover 5 with gripper and remote control

Posted in Dagu Rover 5 | Tagged gripper, robot | Leave a response

« PreviousNext »

Recent Posts

  • 3D Printer extruders
  • Mearm forked
  • Arduino time lapse – camera pan device
  • Bought a 199$* Prusa I3 3D printer
  • Simple DIY lab power supply
  • Bajduino
    • Bajduino 1284
    • Bajduino 328
  • Stepper robot arm

Recent Comments

  1. 200+ Arduino Projects List For Final Year Students - He Loves Math on Obstacle avoiding robot made from cheap parts
  2. MP3 Alarm Clock: Crafting Customized wake-Up tunes with Arduino on Arduino MP3 alarm clock
  3. Bas on L9110 H-bridge module
  4. Victor on L9110 H-bridge module
  5. WAQAR AHMED on Dimming led with IR remote control

Archives

  • June 2016
  • August 2015
  • May 2015
  • January 2015
  • December 2014
  • November 2014
  • May 2014
  • April 2014
  • March 2014
  • February 2014
  • January 2014
  • December 2013
  • November 2013
  • October 2013
  • September 2013
  • June 2013
  • May 2013
  • April 2013
  • March 2013
  • February 2013
  • January 2013
  • December 2012
  • November 2012
  • October 2012
  • September 2012
  • August 2012
  • July 2012
  • June 2012
  • May 2012
  • April 2012
  • March 2012
  • February 2012
  • January 2012
  • December 2011

Categories

  • 3D printing
  • Arduino
  • Arduino sketches
  • Bajdupod 996R
  • Bajdupod 9G
  • Bob the biped
  • Buying parts
  • Dagu Rover 5
  • Dagu service droid
  • Gentoo
  • Insectbot
  • Line following robot
  • Raspberry Pi
  • Self balancing bot
  • Bajduino
    • Bajduino 1284
    • Bajduino 328
  • Stepper robot arm

Copyright © 2026 Bajdi electronics.

Powered by WordPress and Hybrid by Bajdi.