By Bajdi on September 1, 2012
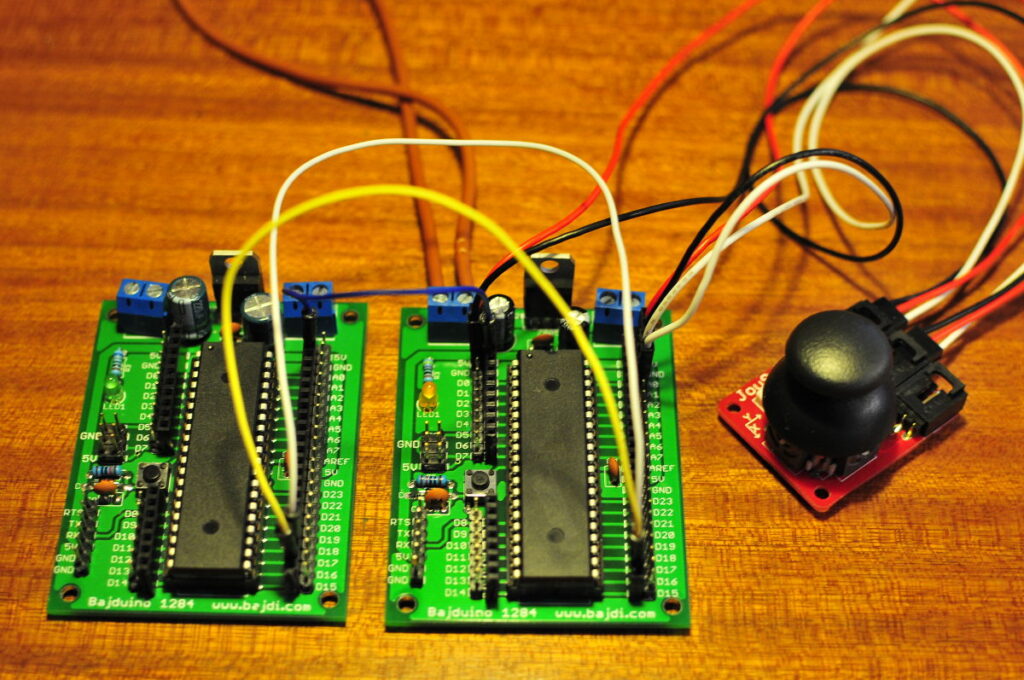
Arduino I2C communication
I now have a big collection of various Arduinos so I wanted to try and let them communicate with each other. There are several options to let 2 Arduinos communicate with each other. All Arduinos have serial, I2C and SPI busses which can be used for communication. The easiest way to get them to communicate is I2C and serial. I chose I2C, don’t ask me why. The Arduino IDE comes with the Wire library to use the I2C bus. I connected the I2C pins of 2 Bajduino 1284’s, these are digital pin 16 and 17 on the ATmega1284 with mighty 1284p bootloader. You also need to connect the ground of the 2 Arduinos with each other. It is recommended to use 2 pull up resistors for the I2C pins. I tried it without them and it worked but if you are building a permanent setup its better to add the 2 resistors. I tested the example Wire sketches and got the 2 Bajduinos talking to each other. The Arduino wire library just sends and receives bytes, this is nice but I just want to sent and receive some integers. After looking around on the internet I stumbled on Nick Gammons website where I found a good explanation of the I2C bus. Near the bottom of the page is a simple Arduino library which makes I2C communication very easy if all you want to do is send and receive float, int or long type. The library is called I2C_anything. I tried it out by connecting a small analog joystick to one Arduino and then sent the values of the joystick to the other Arduino.
This are the sketches I used:
Master sketch:
// http://www.bajdi.com
// I2C communication between 2 Arduino
// Analog joystick connected to analog pins A0 and A1
// Values from joystick are sent to another Arduino (the slave)

#include <Wire.h>
#include <I2C_Anything.h>

const byte SLAVE_ADDRESS = 42;

void setup()
{
  Wire.begin ();
}  // end of setup

void loop()
{
  int X = analogRead(A0);

  int Y = analogRead(A1);

  Wire.beginTransmission (SLAVE_ADDRESS);
  I2C_writeAnything (X);
  I2C_writeAnything (Y);
  Wire.endTransmission ();

}
Slave sketch:
// http://www.bajdi.com
// I2C communication between 2 Arduino
// Slave receives the integers X and Y from the master
// Values X and Y are printed to the serial monitor

#include <Wire.h>
#include <I2C_Anything.h>

const byte MY_ADDRESS = 42;

void setup()
{
  Wire.begin (MY_ADDRESS);
  Serial.begin (115200);
  Wire.onReceive (receiveEvent);
}  // end of setup

volatile boolean haveData = false;
volatile int X;
volatile int Y;

void loop()
{
  if (haveData)
  {
    Serial.print ("Received X = ");
    Serial.println (X);
    Serial.print ("Received Y = ");
    Serial.println (Y);
    haveData = false;
  }  // end if haveData

}  // end of loop

// called by interrupt service routine when incoming data arrives
void receiveEvent (int howMany)
{
  if (howMany >= (sizeof X) + (sizeof Y))
  {
    I2C_readAnything (X);
    I2C_readAnything (Y);
    haveData = true;
  }
}
Posted in Arduino sketches | Tagged I2C |
By Bajdi on August 23, 2012
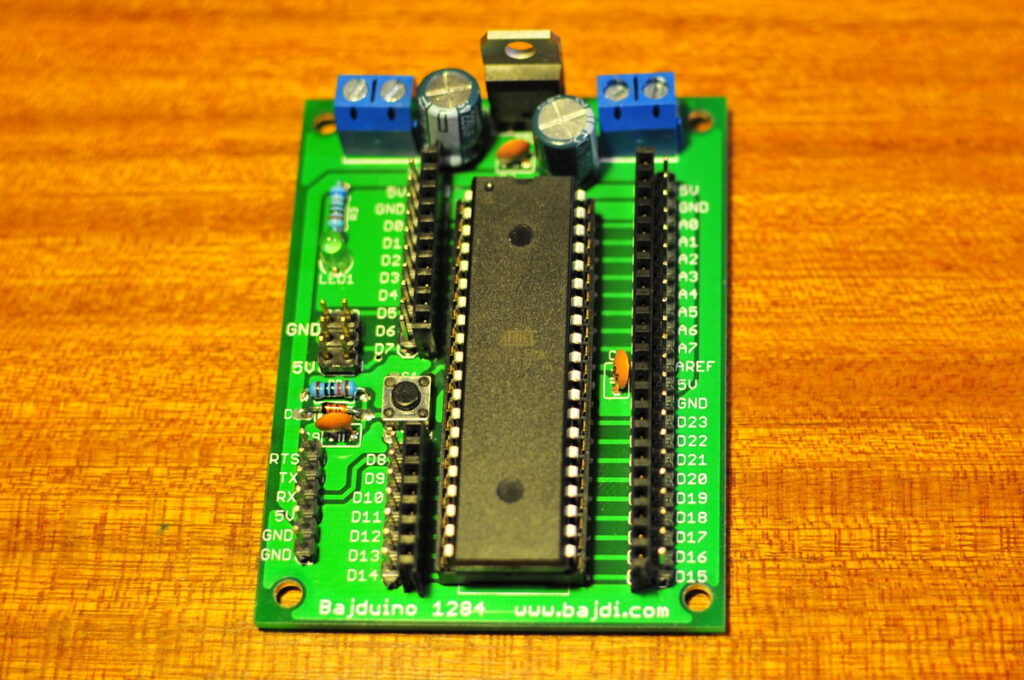
ATmega1284 breakout board
I’m back home after a 4 week vacation in Thailand. While I was there I ordered some more components from Tayda Electronics and had them delivered to my hotel. This time I received my order in 3 days instead of the 2 – 3 weeks it normally takes for shipments from Asia to Belgium. I needed some more components to make my Bajduino’s 🙂 Just before I went on vacation I ordered 10 PCB’s for my Bajduino 1284. It’s just a simple breakout board for the ATmega1284P-PU with a 5V regulator and the necessary components to make the micro controller work. Since the ATmega1284P-PU comes in a 40 pin DIP package I could mount the crystal and caps inside the socket, this saves some PCB space. The board turned out to be not much bigger then an Arduino Duemilanove/Uno. I soldered one PCB and put the big micro controller in the socket to start testing. I had already bootloaded one chip on a breadboard some time ago. So I used my FTDI cable to upload some sketches. Everything worked fine 🙂 Since I have 5 ATmega1284P-PU’s I decided to test if the ICSP header worked. I used my USBasp programmer to bootload the 4 blank chips with Manicabugs mighty 1284p bootloader. This was the first time I used my USBasp but all 4 the chips bootloaded fine. So now I have 5 ATmega1284P-PU’s with working Arduino bootloaders on them 🙂 To remove the chips I used my IC puller, a real handy tool to remove IC’s from their socket. Certainly with a big 40 pin chip like the ATmega1284P-PU you always take the risk of bending the pins when removing them from their socket. The IC puller makes this task a lot more easy and less risky to bend or break the pins. I plan on using the Bajduino 1284 in one of my upcoming robots. The ATmega1284P-PU has 2 serial ports so it’s ideal to use with the serial servo controller I have.
While I was away on vacation another package arrived … my long awaited Raspberry Pi. After almost 2 months it finally made it here. I’ve not had time to play with it yet. I haven’t even downloaded a linux distro to run on it. There seems to be quite a few flavours of GNU Linux for the Raspberry Pi today. So I will need to take a look at them and make a choice. I bought the Raspberry Pi from RS components and ordered some accessories with it. I bought a strong USB adapter to power it and a HDMI cable since the Raspberry Pi only has HDMI output. I don’t have a TV where I will play and test with the Raspberry so I also got a HDMI to DVI converter to connect it to one of my LCDs.
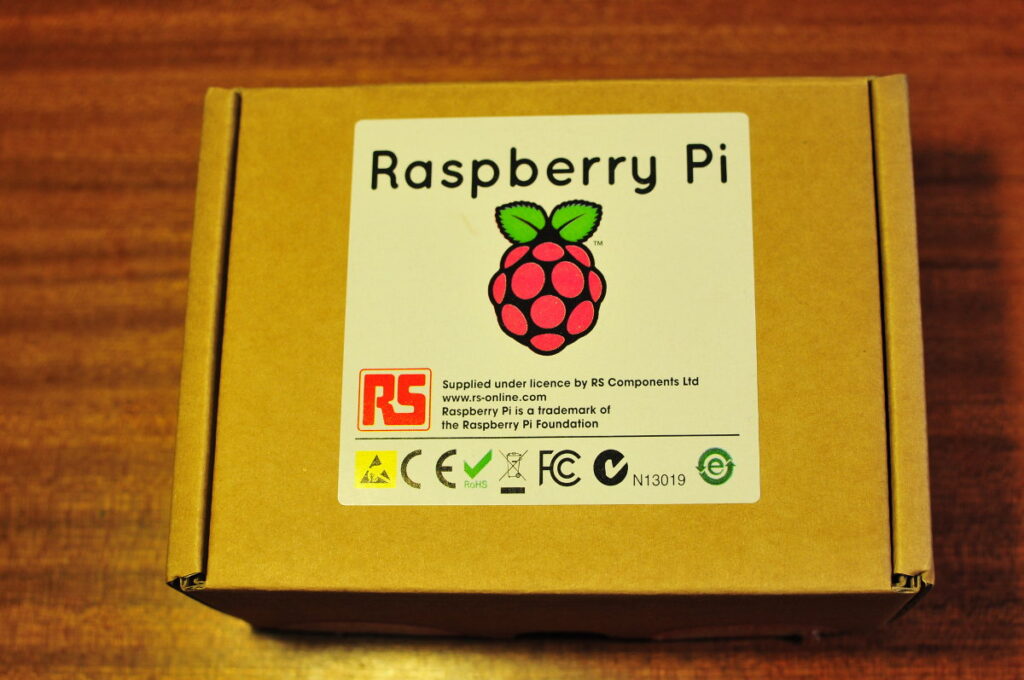
Finally received a Raspberry Pi 🙂
Posted in Arduino | Tagged ATmega1284, Bajduino |
By Bajdi on July 11, 2012
Well well I have finally managed to compile and install an AVR toolchain that works with Arduino on my Gentoo workstation. This was after 3 attempts to install the AVR-GCC toolchain. After installing, it would never compile without errors. Some people have written guides on how to install the toolchain, but they never worked for me. The last one I tried was this Italian guide. After going through all the steps twice I still didn’t have a working compiler. And I couldn’t figure out if it was the compiler or the Arduino libraries causing the errors. A couple of days ago I noticed that the latest GCC version 4.7.1 was available in portage, gentoo’s package manager. So I unmasked the necessary packages and installed them. I first tried compiling a simple blink sketch in Arduino 0023, but I just got a bunch of errors. So I installed the latest Arduino 1.0.1 version and suddenly everything compiled without errors. My toolchain now consists of AVR-GCC 4.7.1, AVR-libc 1.8.0 and binutils 2.21.1. I will now have to update all my libraries and sketches so that they will compile in Arduino 1.0.1. Quite a few things have changed from Arduino 0023, the version I was using until now. If you don’t want to go through all the trouble and just want a working compiler you can install these binary packages. They work with Arduino 0023 but not with the 1.0 or later version…
Posted in Arduino, Gentoo | Tagged Gentoo |