By Bajdi on February 19, 2013
Hexapod bajdupod 996R trouble
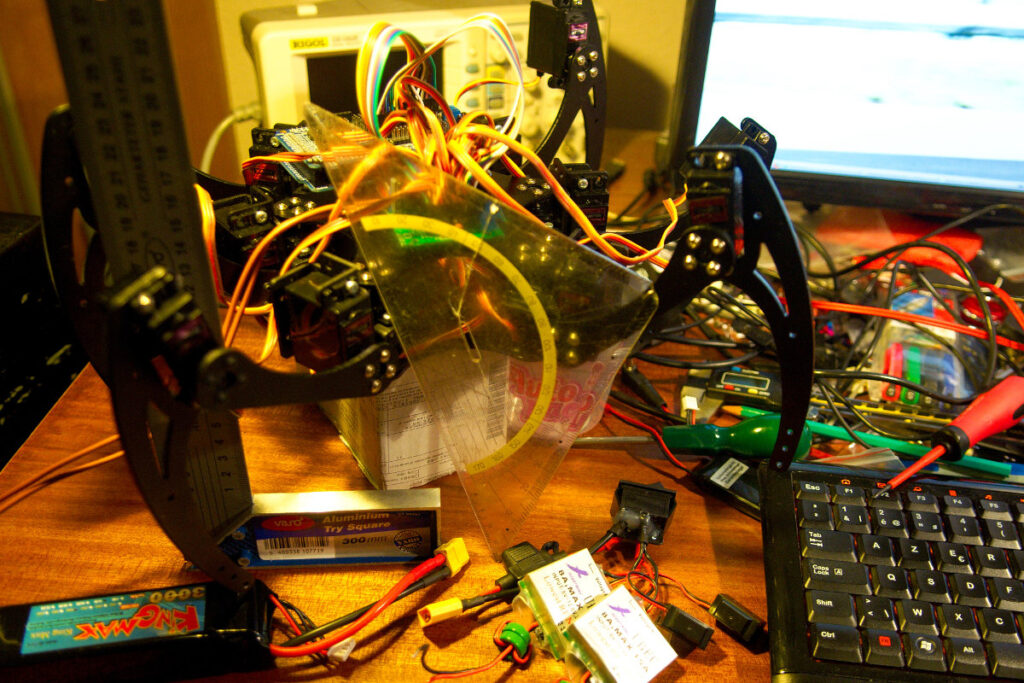
I’ve been working on my hexapod, and I’ve spent the last weeks struggling with inverse kinematics. I found a great explanation on this website. I started by measuring the parts of the legs. The legs are made of 3 parts, coxa, femur and tibia. I then copied quite a bit of code from the sketch on engineer-this. I did my best to understand how it works and adapt it to my hexapod. The inverse kinematics math is the same but I still needed to convert the IK angles to the servo angles. I used a protractor to measure the servo angles and compare them with the calculated inverse kinematics angles.
It took me some time to figure it all out, but once you managed to do it for 1 leg the other 5 legs are very easy. Yesterday I finally wrote code to move all 6 legs using inverse kinematics. I then quickly made a sketch to move all 6 legs at the same time, so I could check if all servos were working as they should.
The legs moved for a couple of seconds and then 3 legs stopped moving. I checked the voltage and measured none. One of the 2 8A UBEC’s I was using is dead 🙁 Now I did shortcut the UBEC’s when I first tried out all the servos, that was some time ago. Until now they have worked fine. I then powered the hexapod from my lab power supply. My lab power supply has an integrated amp meter and it showed almost 10A. This was with the hexapod sitting on a box so there was no strain on the legs. So I’ve decided to beef up my power supply to the servos and ordered 3 new 8A UBEC’s. Each UBEC will power 2 legs, 6 servos. I hope that’s enough. I’m powering the UBEC’s from a 3S 30C 3000mAh Lipo battery.
Posted in Bajdupod 996R | Tagged hexapod, servo |
By Bajdi on February 9, 2013
Open workbench logic sniffer
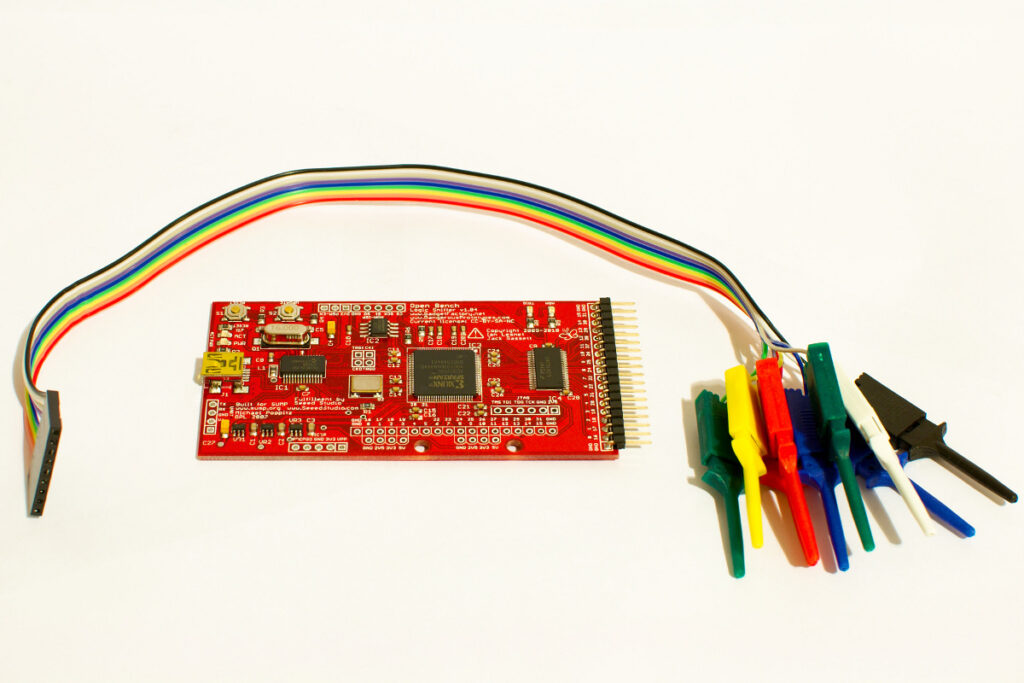
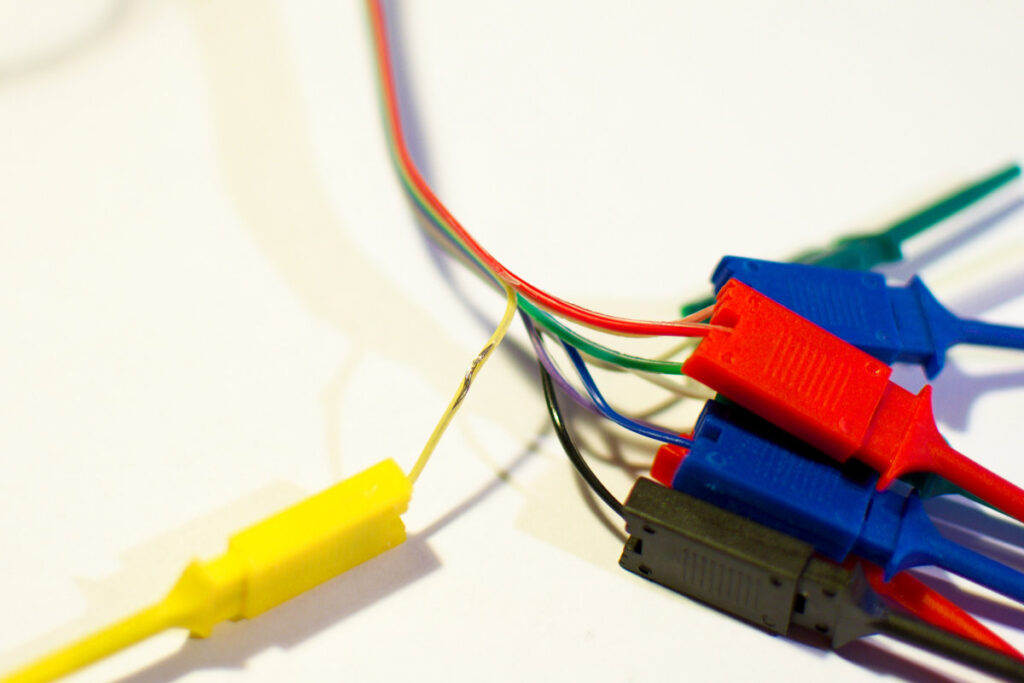
I bought me an Open Bench Logic Sniffer for Christmas. And I’ve finally found some time to try it out. I’ve bought to many toys to play with the last months 🙂 I bought it from Seeedstudio for 50$, but that didn’t include the probe cable. That cost another 6$, very cheap but I had a bit of bad luck. The cable arrived damaged, on 2 wires there is some missing insulation 🙁 I’ll have to order a couple of new ones with my next order from Seeedstudio.
Probe cable
The Open Bench Logic Sniffer is an open source logic analyzer. It’s designed to support the SUMP logic analyzer software at the lowest possible cost. The project is a collaboration between the Gadget Factory and Dangerous Prototypes.
I copied the above sentence from this page. There you’ll find all the information about the Open Bench Logic Sniffer.
I bought the logic analyzer as I’m using quite a lot of devices that use the serial, I2C or SPI bus. With a logic analyzer you can see what is happening on the bus and analyze the data.
I was a bit worried that I would not get the software to work but it turned out to be very straight forward. I use Gentoo/GNU Linux on my workstation. I already had the right kernel configuration, you need kernel support for “USB Modem”. I then downloaded the Logic Sniffer Client and fired it up.
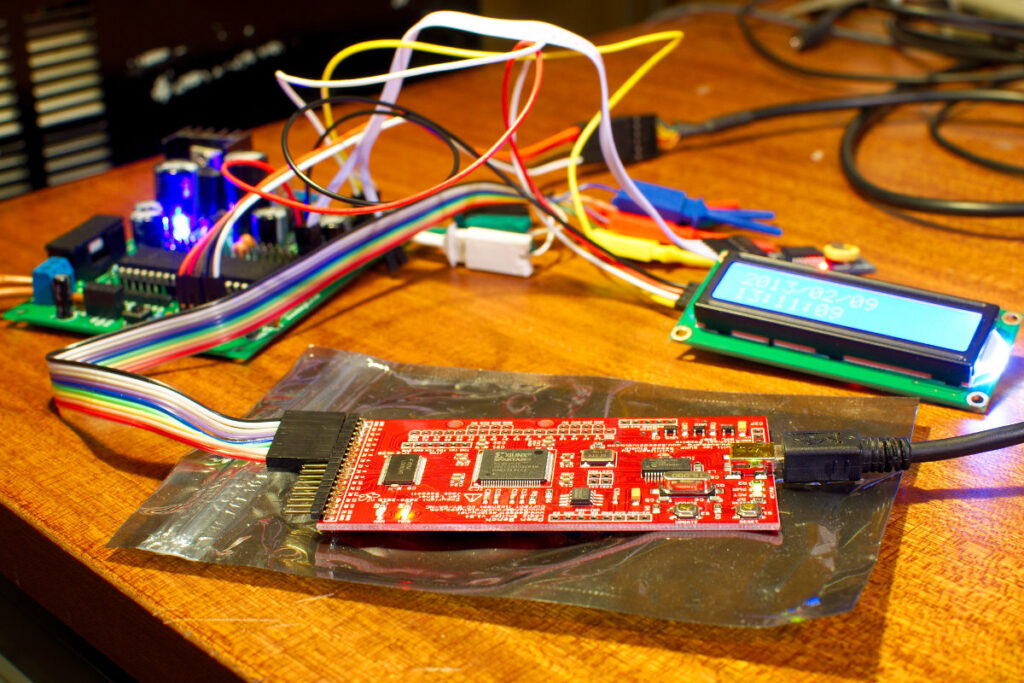
To test the Open Bench Logic Analyzer I connected it to the I2C bus of my Bajduino Mega 3A. I had 2 I2C devices connected to the Bajduino, a DS3231 RTC and an I2C LCD.
Open bench logic sniffer
When I first tried capturing data I didn’t get much result. I then figured out that the default sampling rate is 200MHz. I use the Arduino Wire library to talk to the I2C devices which is only 100kHz. So I set it the sampling rate to 5MHz and got some better results.
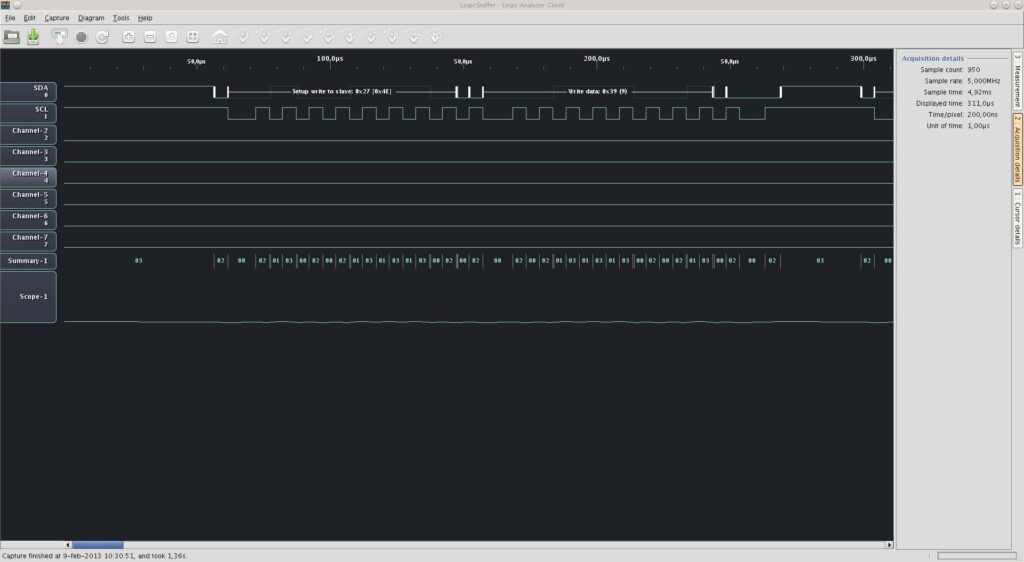
Logic sniffer
I then selected tools -> I2C protocol analyzer and clicked analyze. The software automatically detected which channel is SDA and SCL and analyzed the data. These are the results I got:
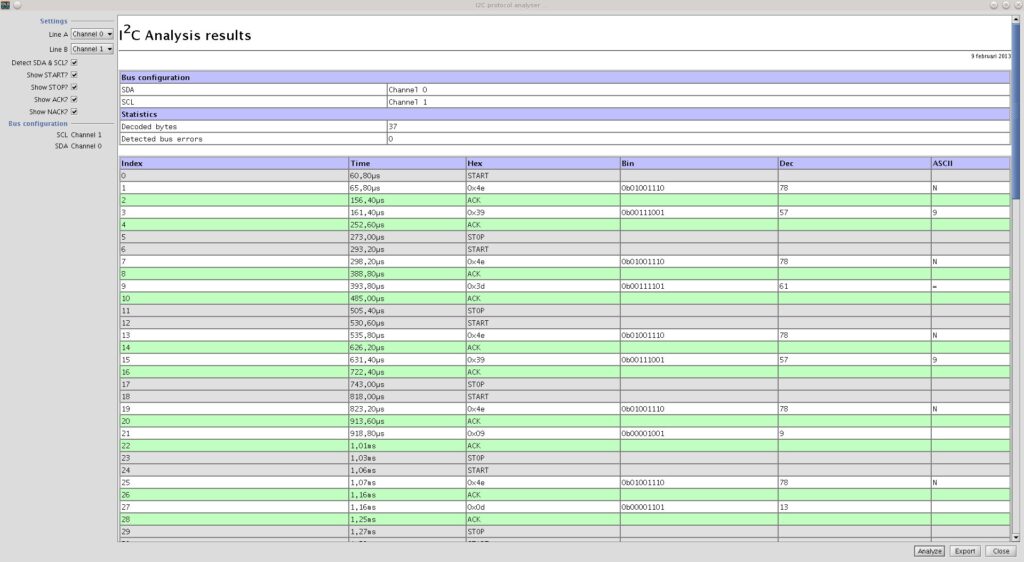
I2C analysis results
I’ve also connected the Open Bench Logic Sniffer to the SPI bus of an ATMega328 and analyzed some data. Works pretty well, I did sometimes have to try and capture the data more then once to get a good result. But that could be due to the cheap probe cable.
Posted in Buying parts | Tagged I2C |
By Bajdi on February 6, 2013
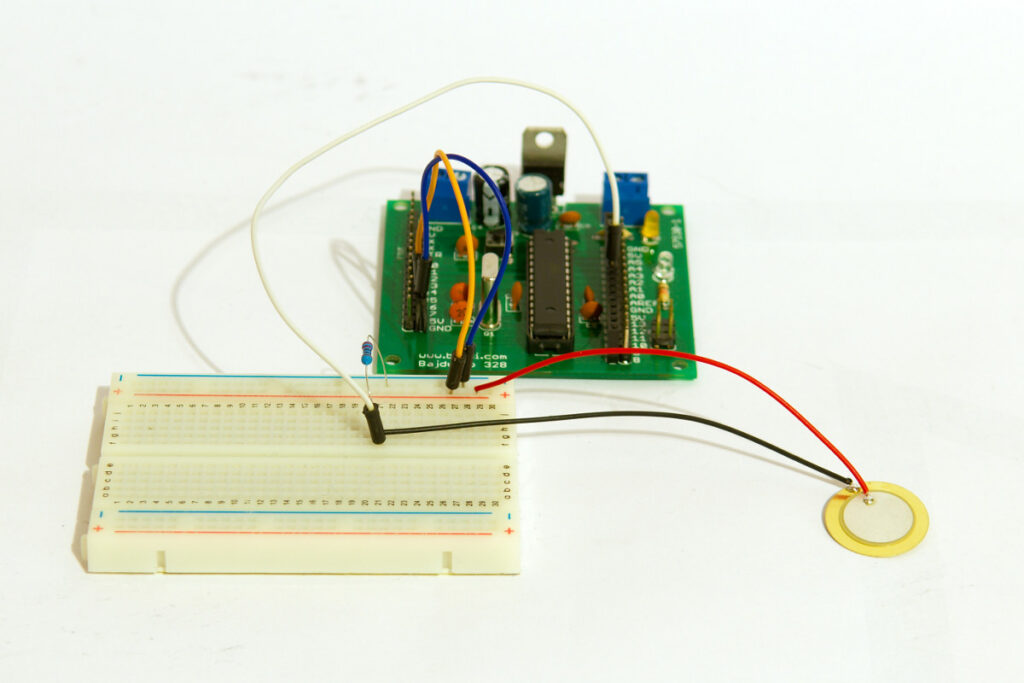
I’ve been thinking of modifying the gripper on my Rover 5. The 2 arms that close to pick up things are pretty small. I was thinking of attaching a small plate on both sides. This would make it easier to pick up things. And the plates would give me a good surface to mount a sensor to detect if the gripper has made contact with something and to measure the pressure on both sides of the gripper.
So I started searching for pressure / force sensors. And I found a cheap solution, the piezo element. So I bought 5 on Ebay and did a small test. The piezo element has an internal resistance which changes when you apply pressure to it. When there is no pressure on the element the resistance is infinite. When I pushed on the piezo element the resistance started to drop.
To measure the resistance with an Arduino I made a voltage divider. I connected one end of the piezo element to the 5V pin of the Arduino and the other end to an analog input. From the analog input I also connected a resistor to ground. I had to try lots of different resistors to find a value that gave accurate readings. I first started with a 10K resistor. But even when I pushed really hard on the piezo element I got a very low reading. So I tried some bigger resistors. A 150K resistor gave me the best results for the piezo elements I bought. Now I have to try and make some plates or attachments for the gripper so I can fit the piezo elements to the gripper. The sketch I used to see the analog readings is just the example “AnalogReadSerial” that comes with the Arduino IDE.
Posted in Arduino, Buying parts | Tagged gripper |