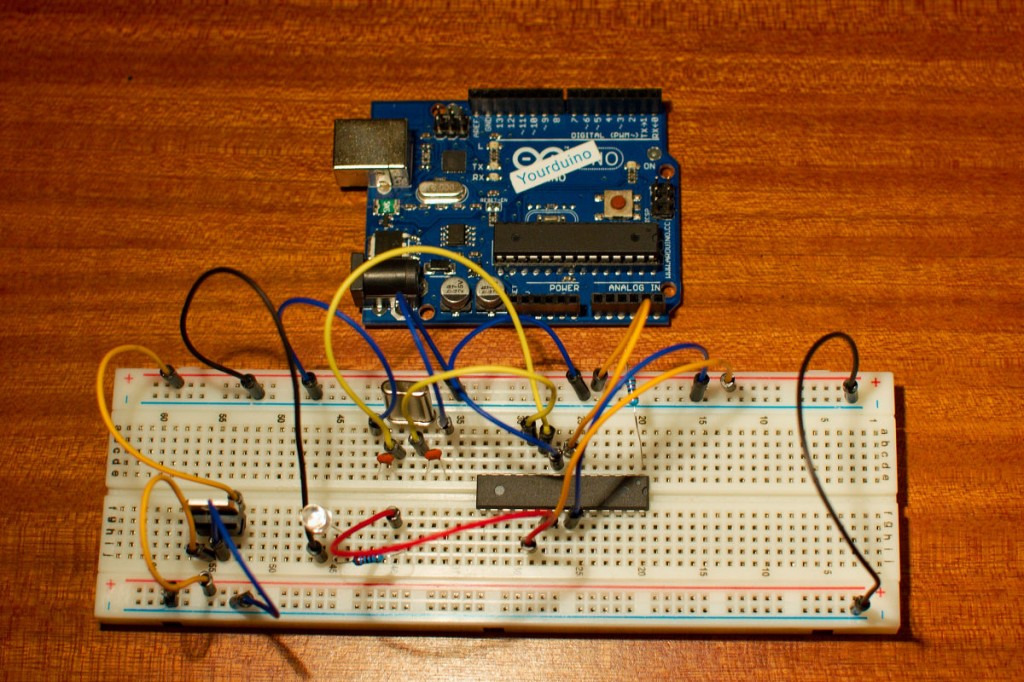
The Arduino Uno together with the Arduino IDE is an easy way to program the Atmel ATmega 328P micro controller. You don’t really need to buy an Arduino board if you want to play with the Arduino IDE. You can just buy an Atmel ATmega 328P, 2 capacitors, a crystal and a 10K resistor. Plug it on a breadboard and start playing. There is one issue though you need a way to put the sketch on the micro controller. The easiest method is to use an Arduino board if you already have one. Else you can buy an ISP programmer. The official Arduino website has instructions on how to accomplish this.
I bought an Atmel ATmega 328P from the official Arduino store, it already had the Arduino Uno boot loader preprogrammed. Making it all a lot easier. I used these instructions to connect the 328P to my Uno. It did need to search for some things before I could connect it all. The website doesn’t have the pinout of the ATmega 328P, you can download the data-sheet from the Atmel website. The Arduino pin numbers are not the same as the ones Atmel uses in their data-sheet but I found that information here.
To connect it all you only need 2 ceramic capacitors, a crystal and a 10K resistor. I had bought a set of ceramic capacitors from Arduino-direct some time ago. I didn’t know that the little numbers on them were not the value but capacitors codes. I found the information on how these translate to the value of the capacitor on this website.
After uploading the sketch I powered the ATmega 328P on the breadboard from my lab power supply through a L7805CV voltage regulator and it worked 🙂 It’s all pretty straightforward, no special tricks are involved. So now I know it’s not that difficult to make my own Arduino board 🙂
