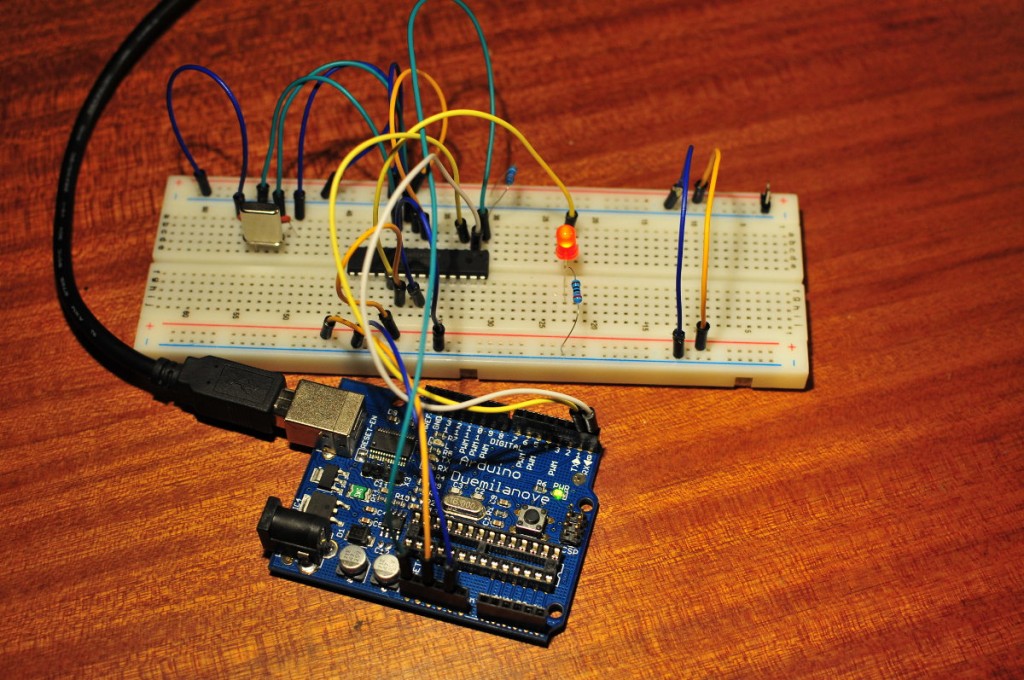
I already bought a single ATmega 328P-PU microcontroller, I got it from the official Arduino store and it came with the bootloader already on it. I didn’t have much trouble putting sketches on the chip when I put it on a breadboard. While searching for information on how to accomplish this I read that putting a bootloader on a bare ATmega is actually very easy.
I needed some more electronic parts and while browsing the website of Tayda Electronics I saw that they also sell bare ATmega 328P-PU’s. This is the exact same micro controller that is used in the Arduino Duemilanove and Uno. They only cost 3,5$ a piece so I couldn’t resist and bought a couple. They came all the way from Thailand and arrived here pretty fast. So today I decided it was time to put the bootloader on them. It’s so easy that I can’t say much about it. I just followed the instruction on the Arduino website.
I used an Arduino Duemilanove as an ISP (in system programmer). If you only have an Uno it’s a little bit harder, you’ll need to add a 10 uF capacitor between reset and ground. So don’t be put of by buying bare ATmega 328P-PU microcontrollers, putting the bootloader on them is really easy 🙂 I quickly tested them by connecting a led to pin 13 and loading the blink without delay sketch on them, and they worked…
